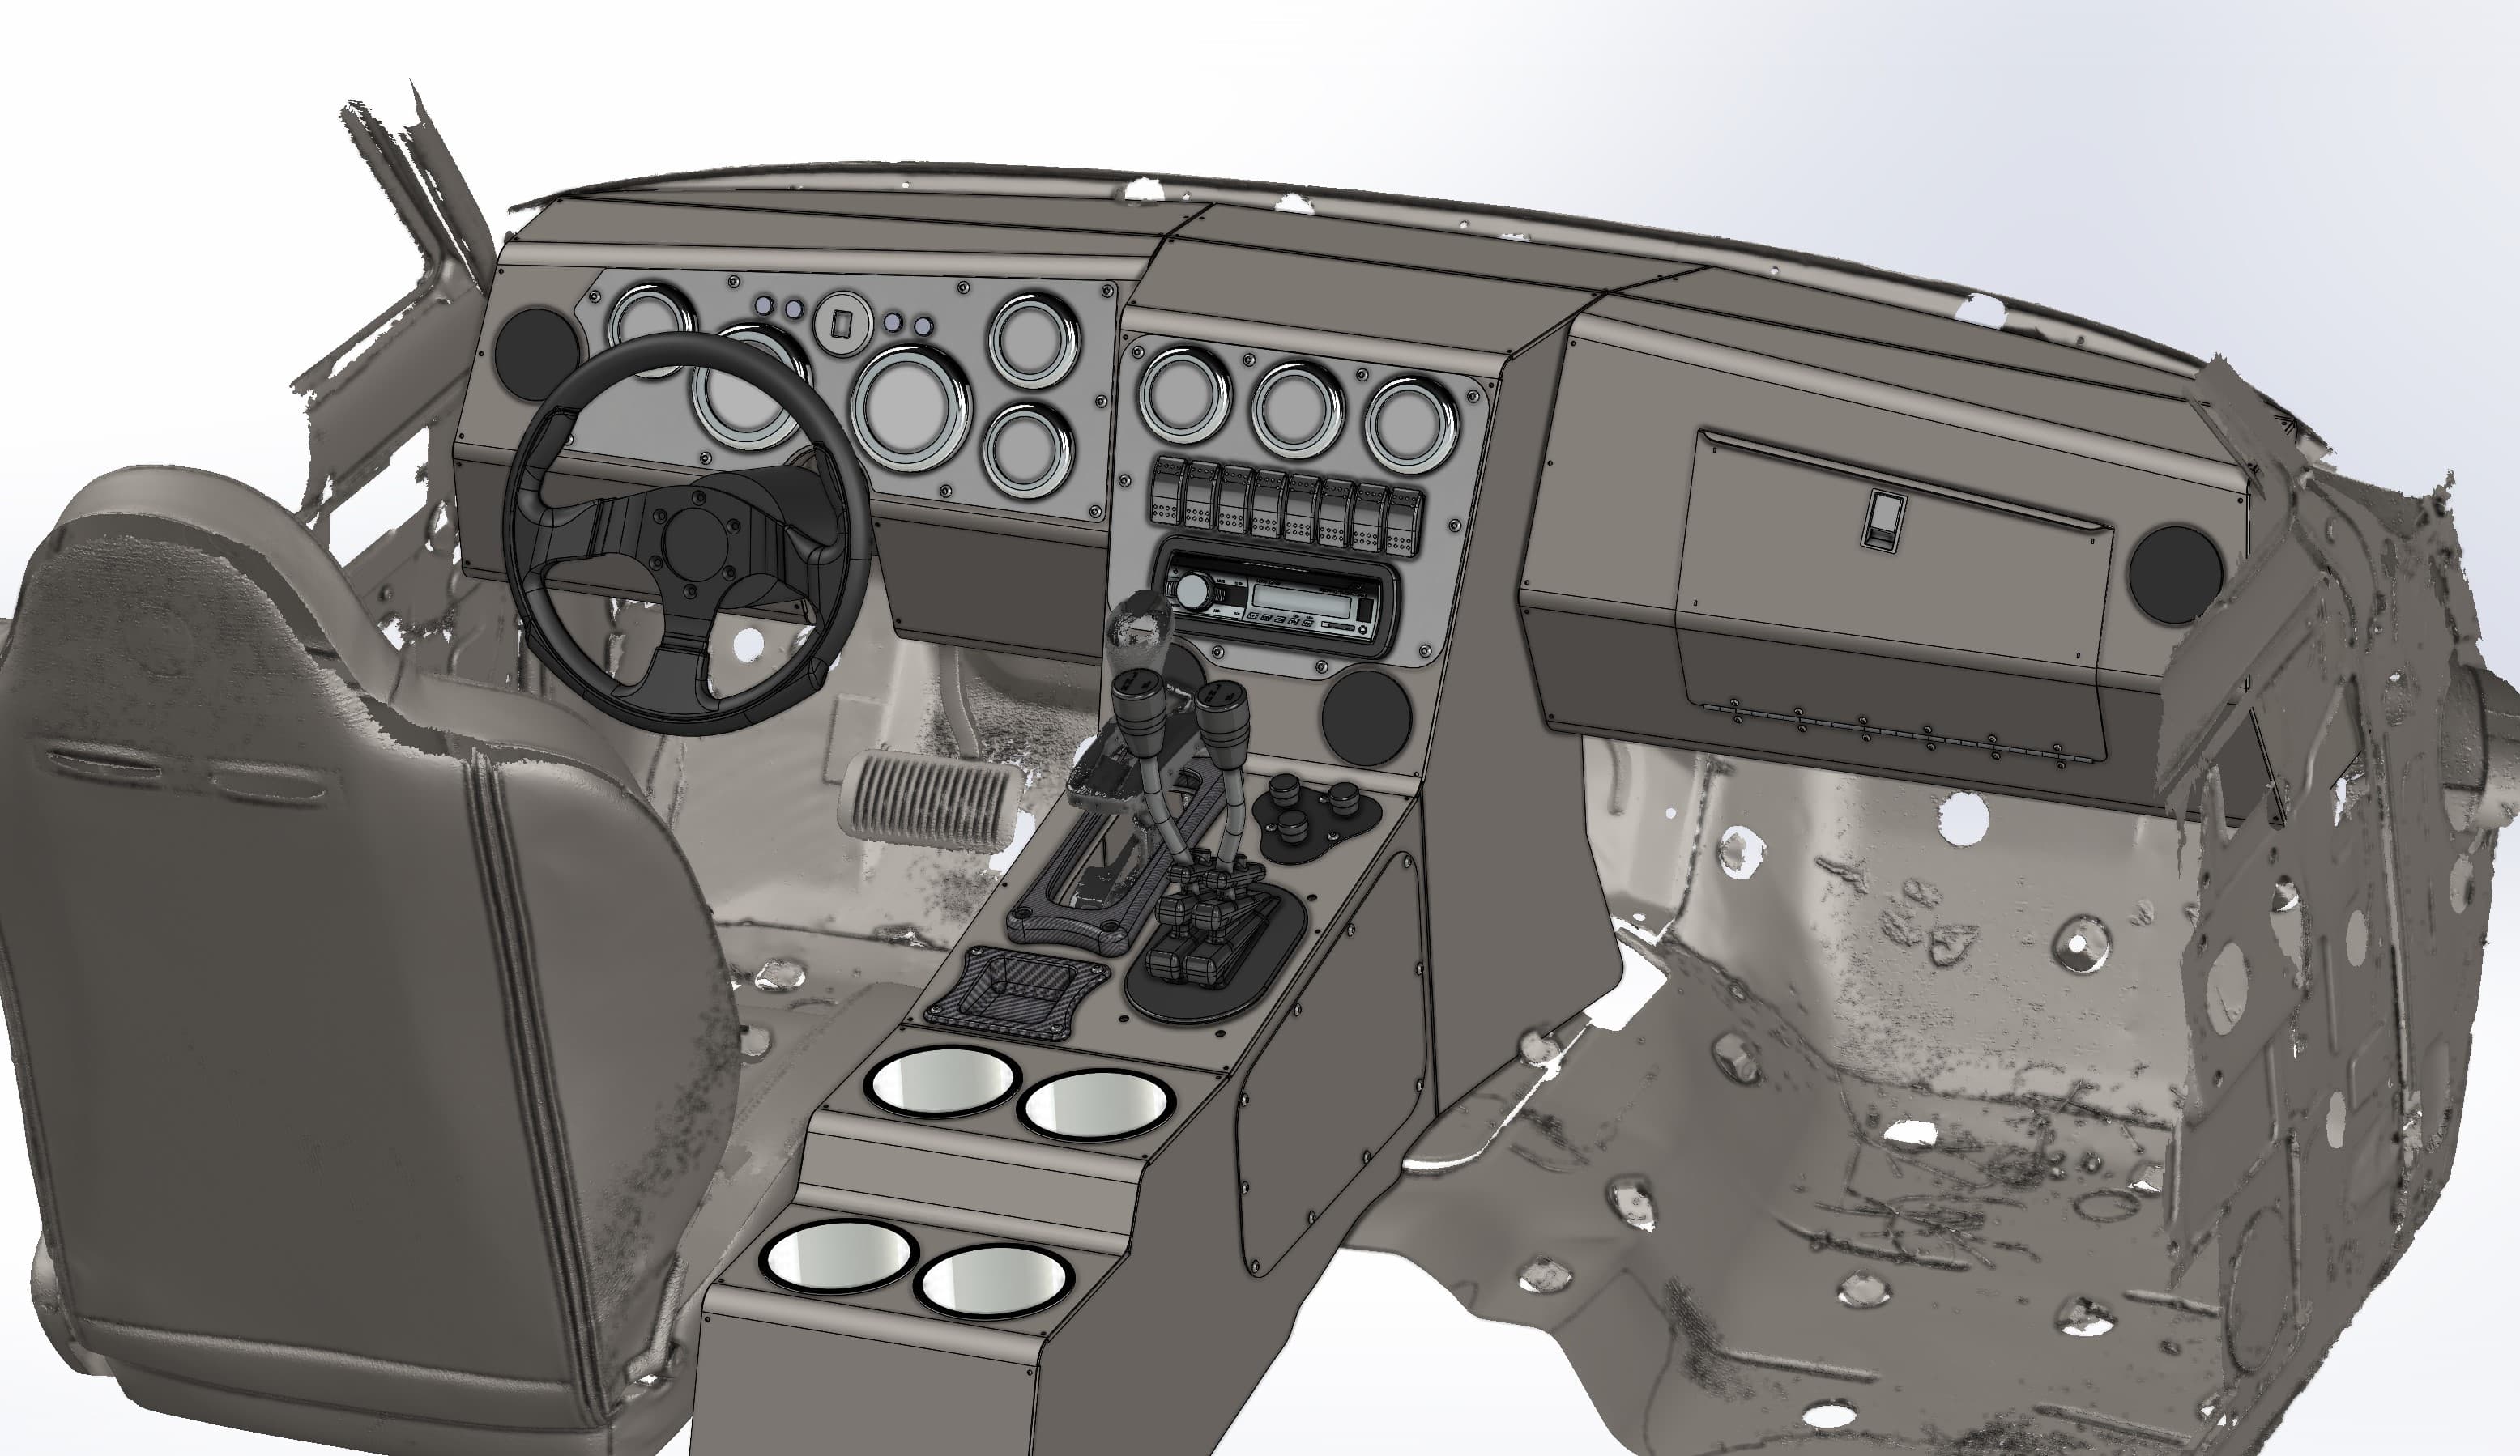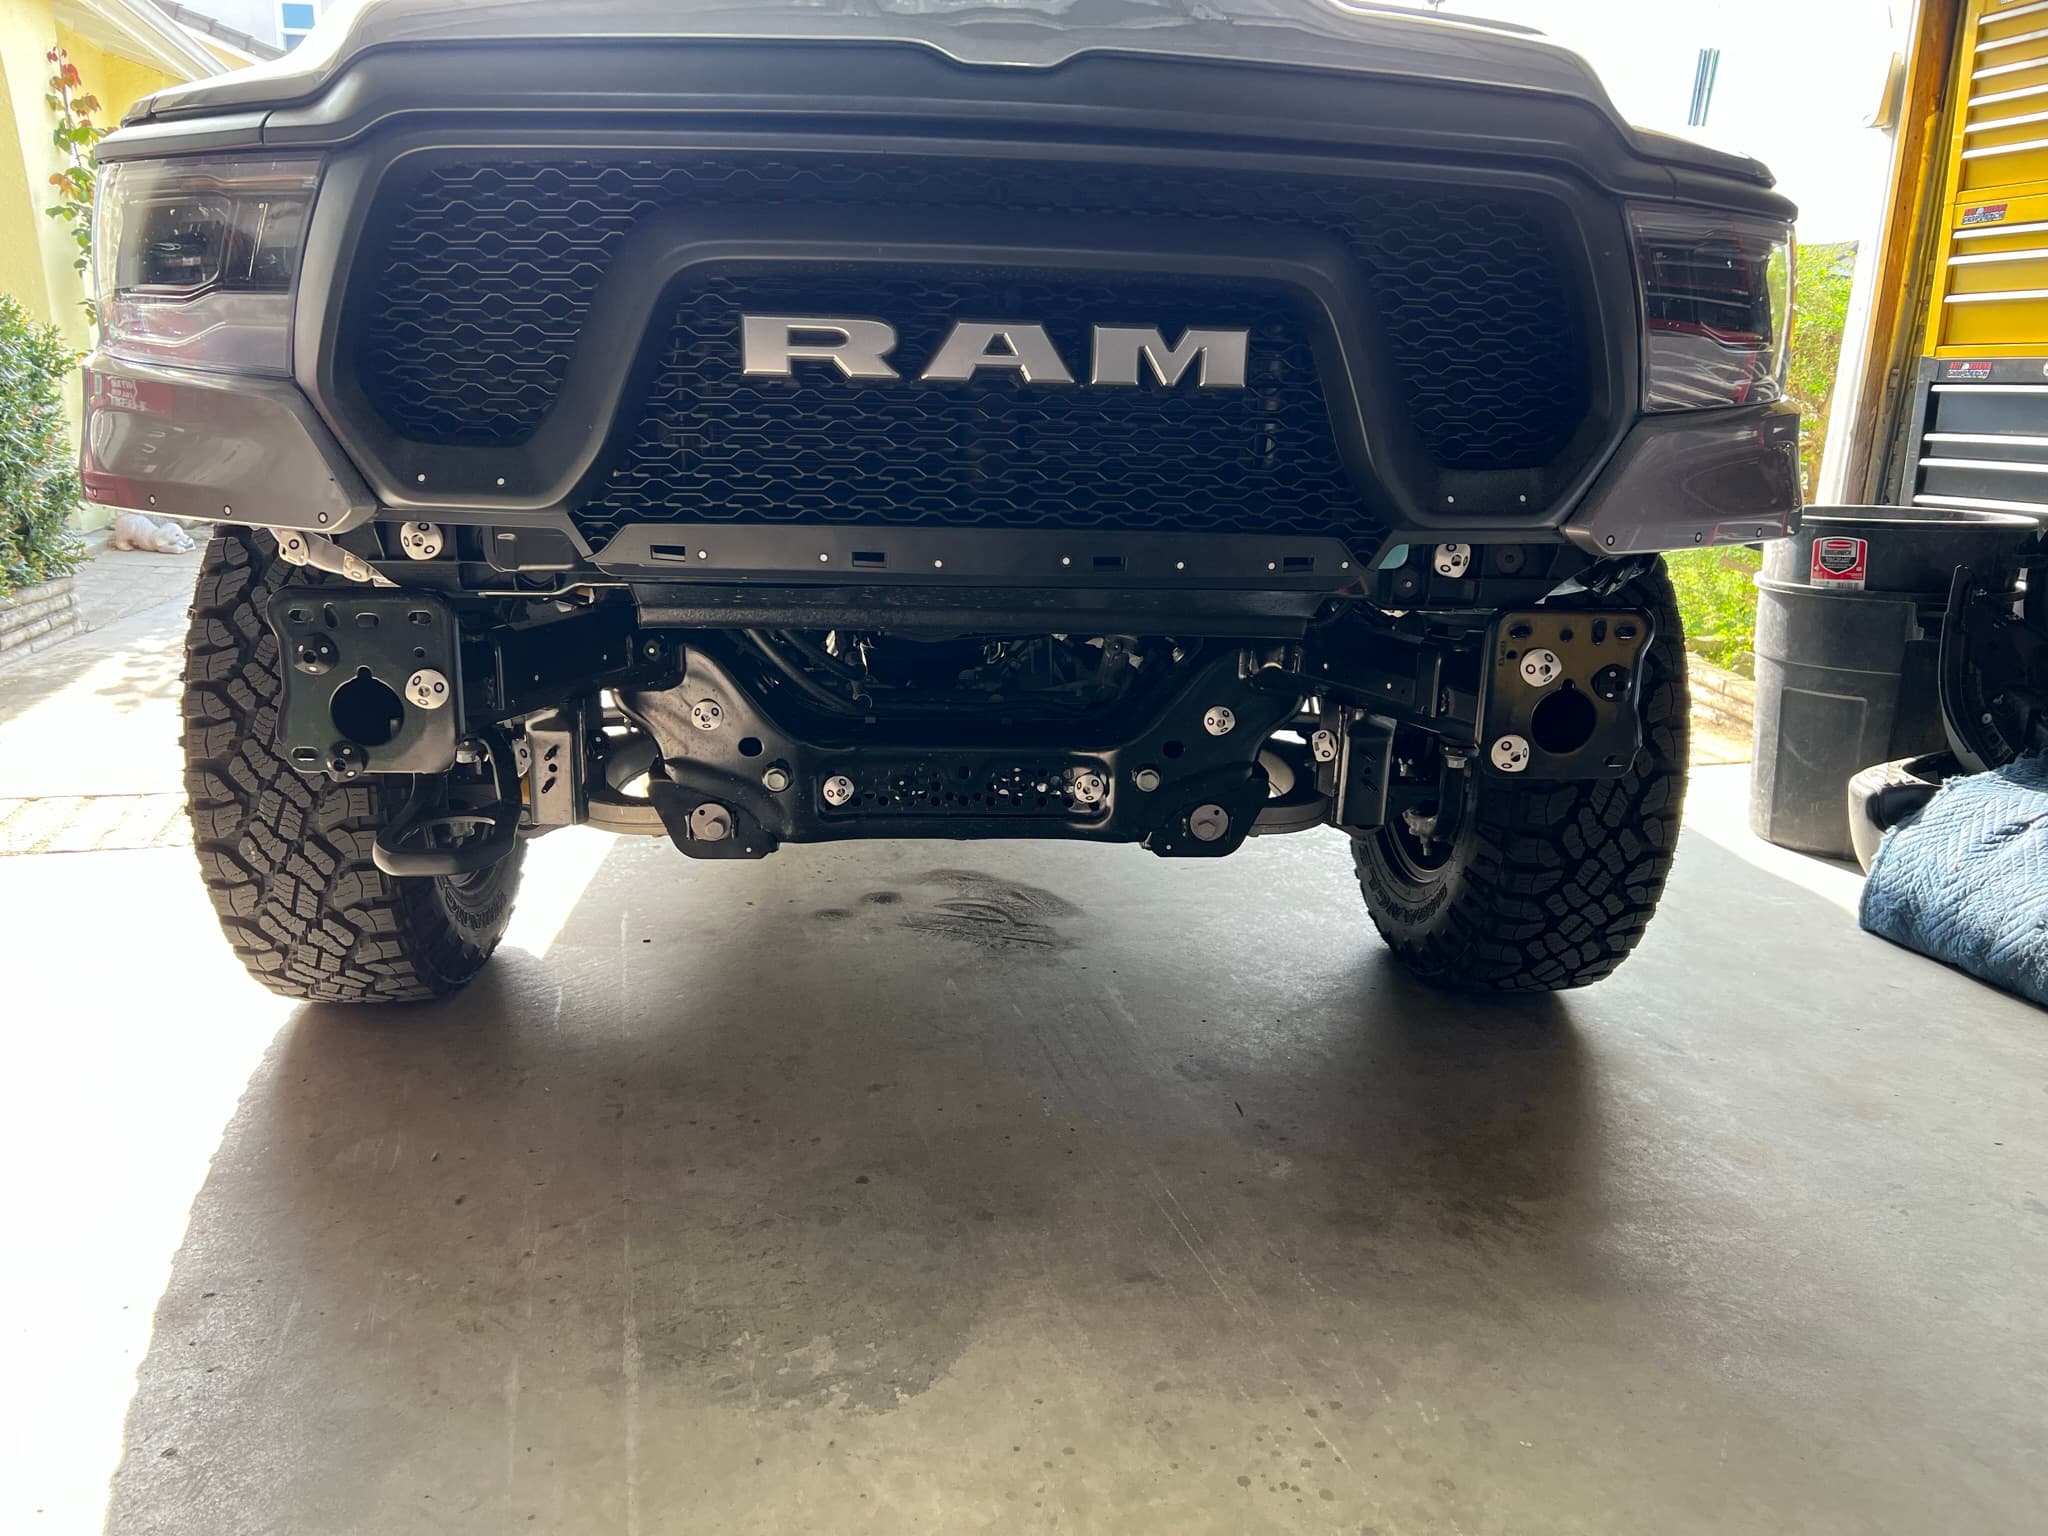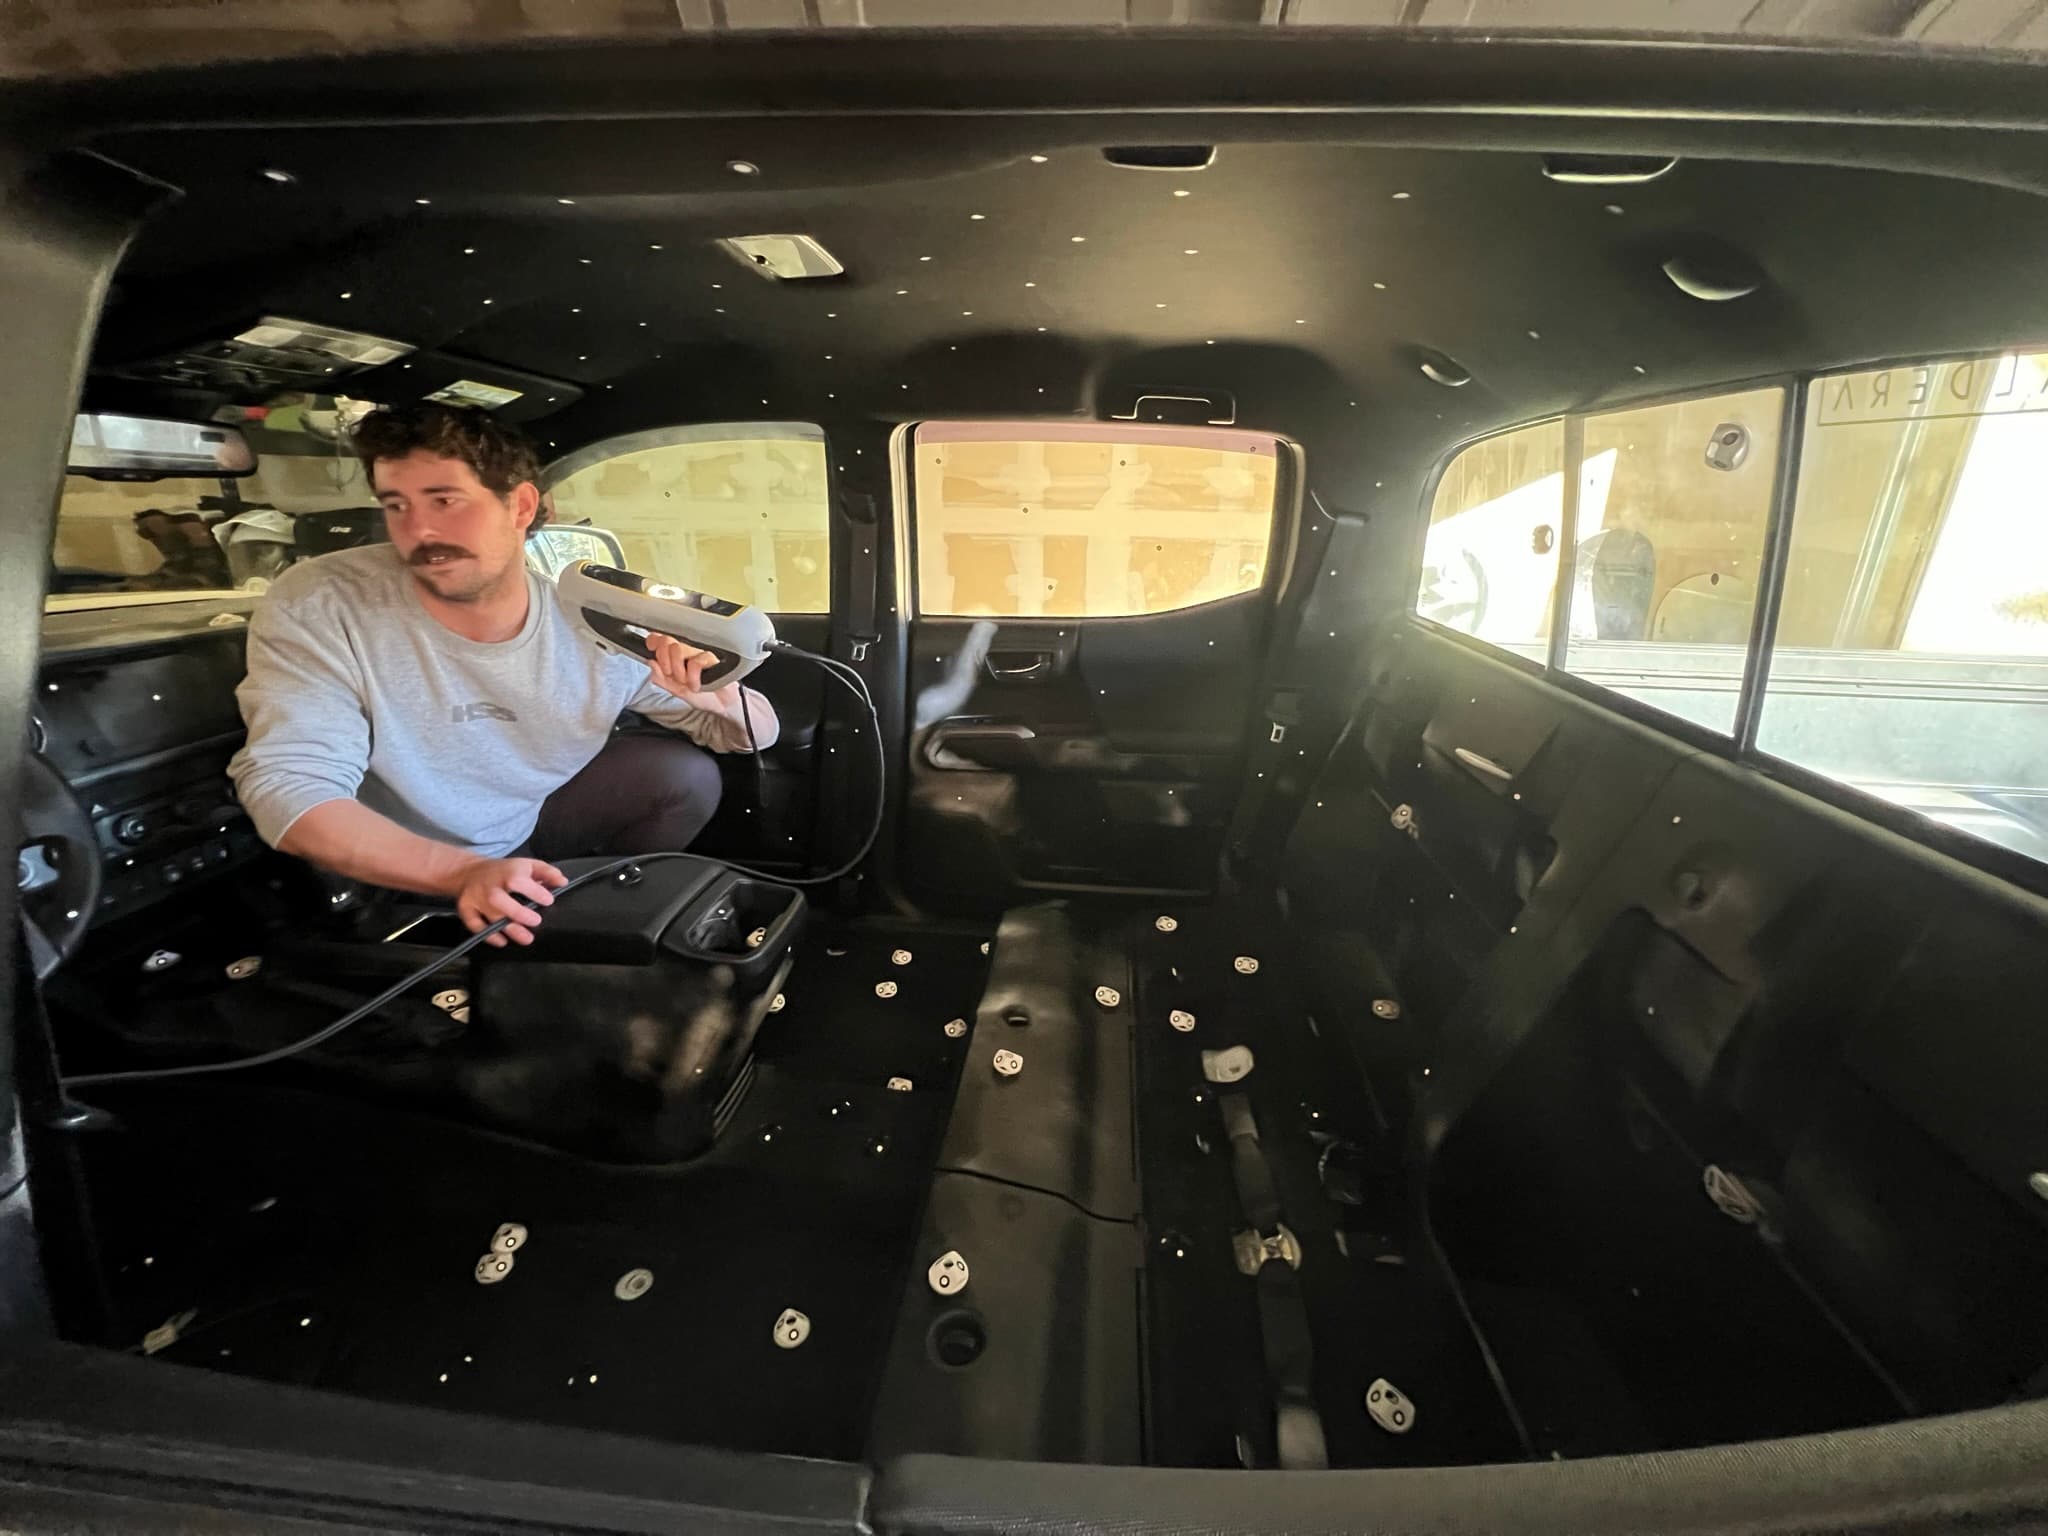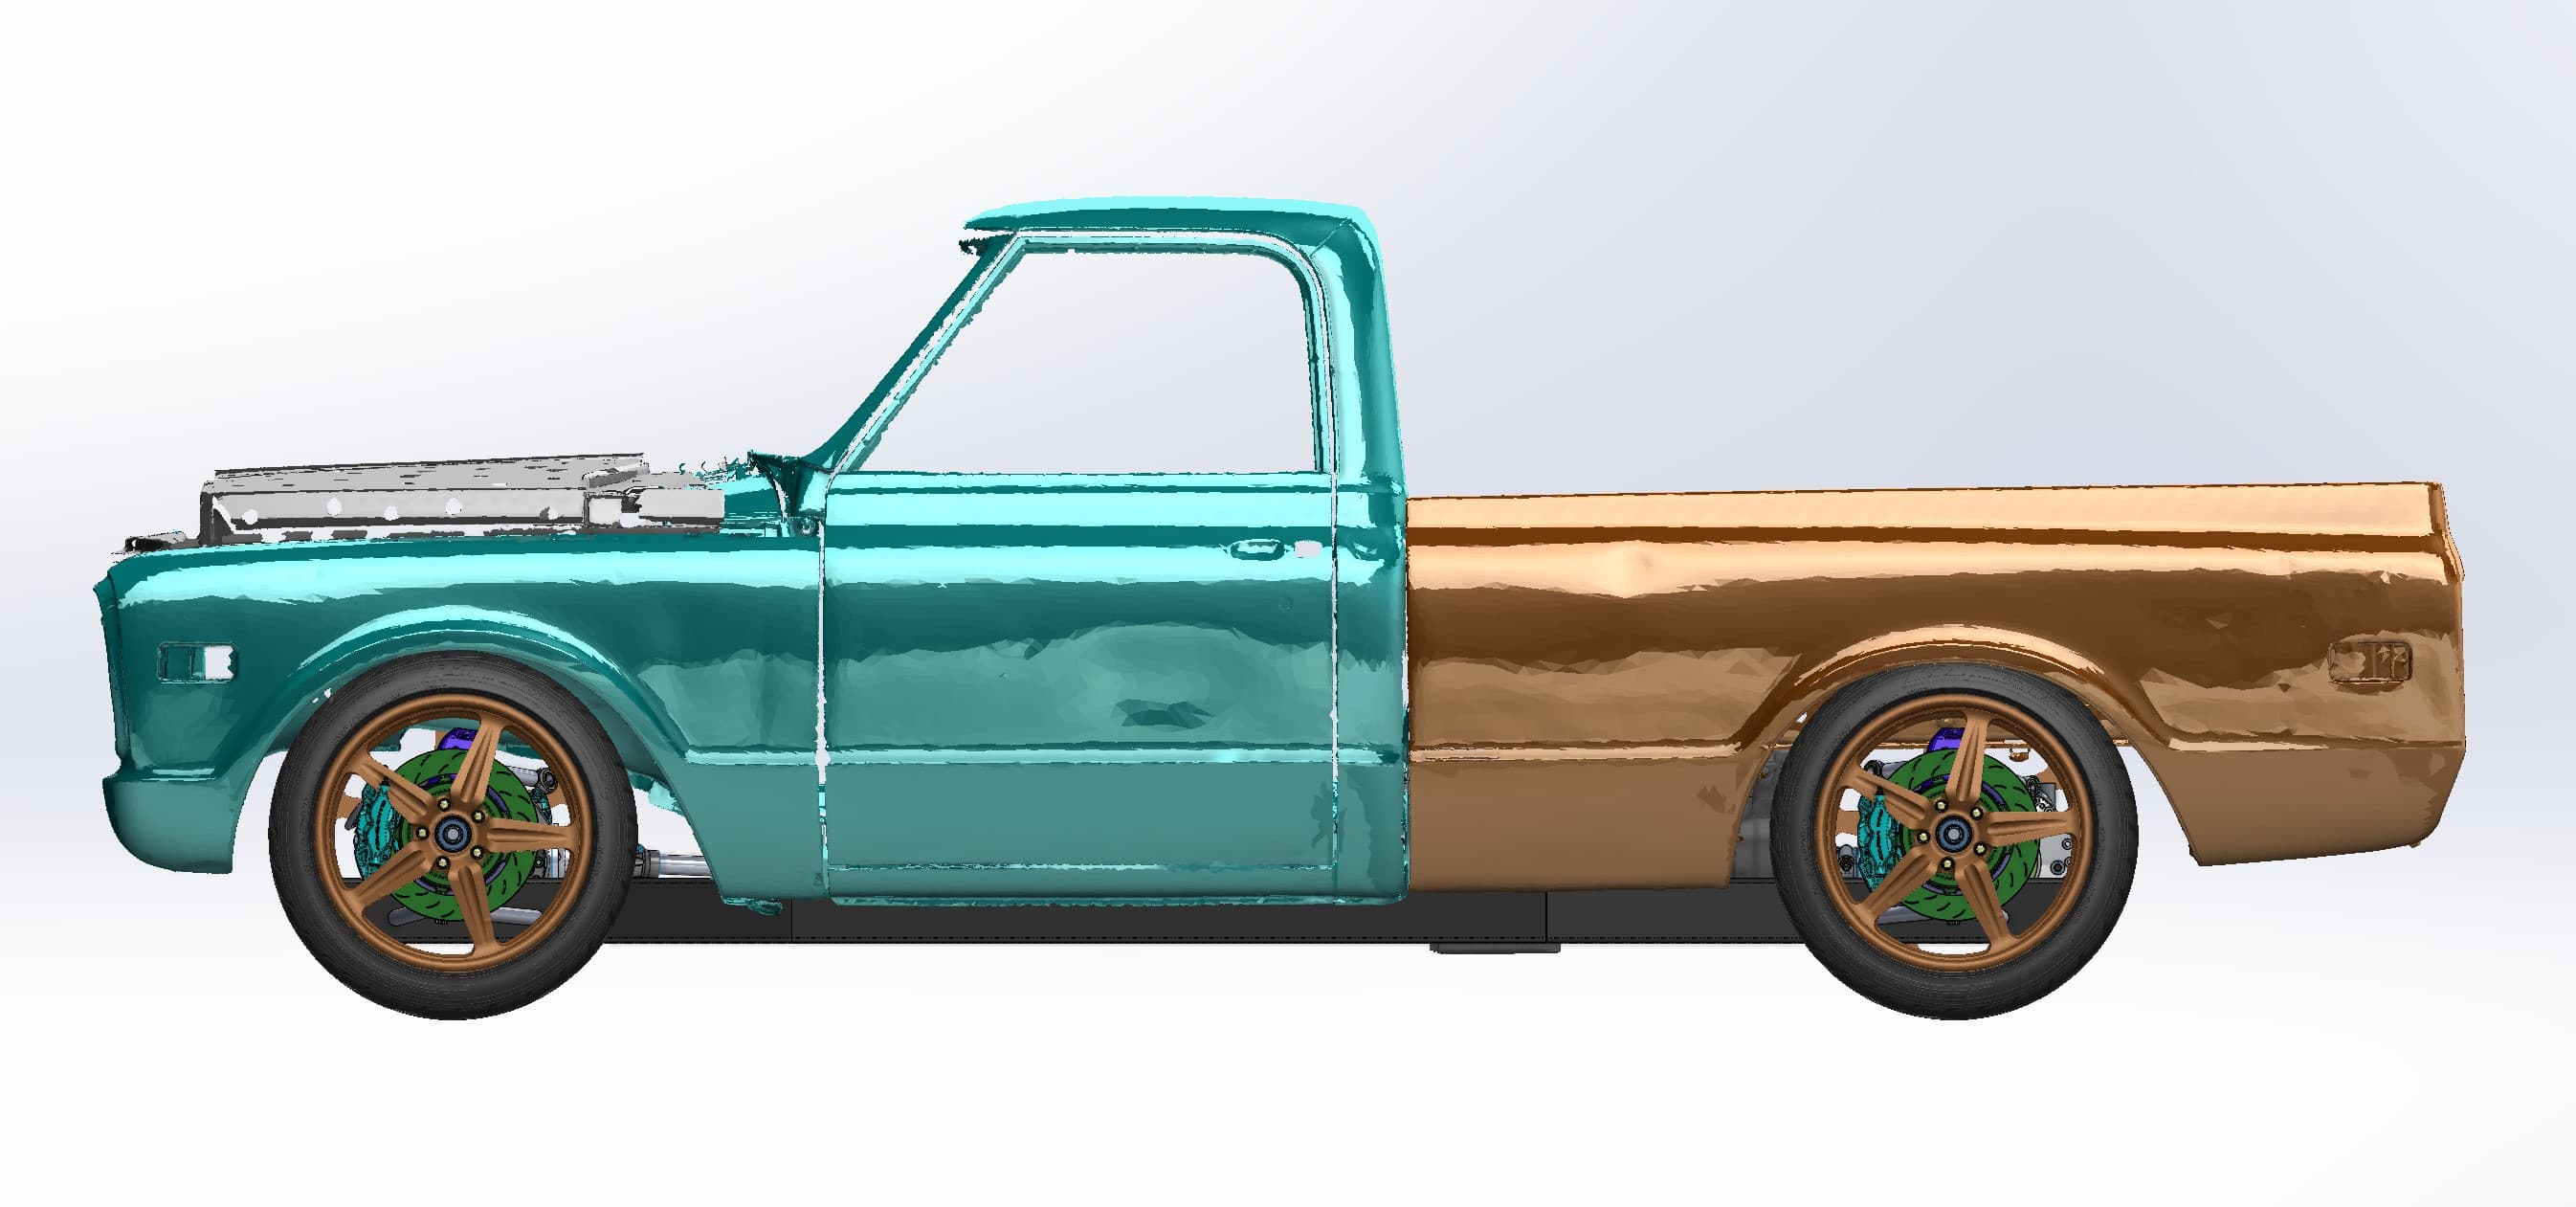
3D scanning cost comes down to time: how long it takes to prep and scan your object, and how much engineering it takes to turn that scan into the file you need. A small, simple part scanned to a raw mesh takes about half an hour of scanning. A complete vehicle, inside and out, takes 8 to 12 hours before any CAD work starts. Where your job lands between those two depends on size, geometry, surface finish, the deliverable, where the scan happens and how many parts you have.
We don't publish one flat price, because a shift knob and a trophy-truck cab are not the same job. What we can show you is how long typical jobs take, what moves the number, and how to keep it down. For a dollar figure on your own part, use the instant estimate tool.
What drives 3D scanning cost
Every scanning quote is built from the same pieces: prep, scanning, data processing, CAD modeling or reporting, and travel or shipping. Each factor below makes one or more of those pieces bigger or smaller.
Object size
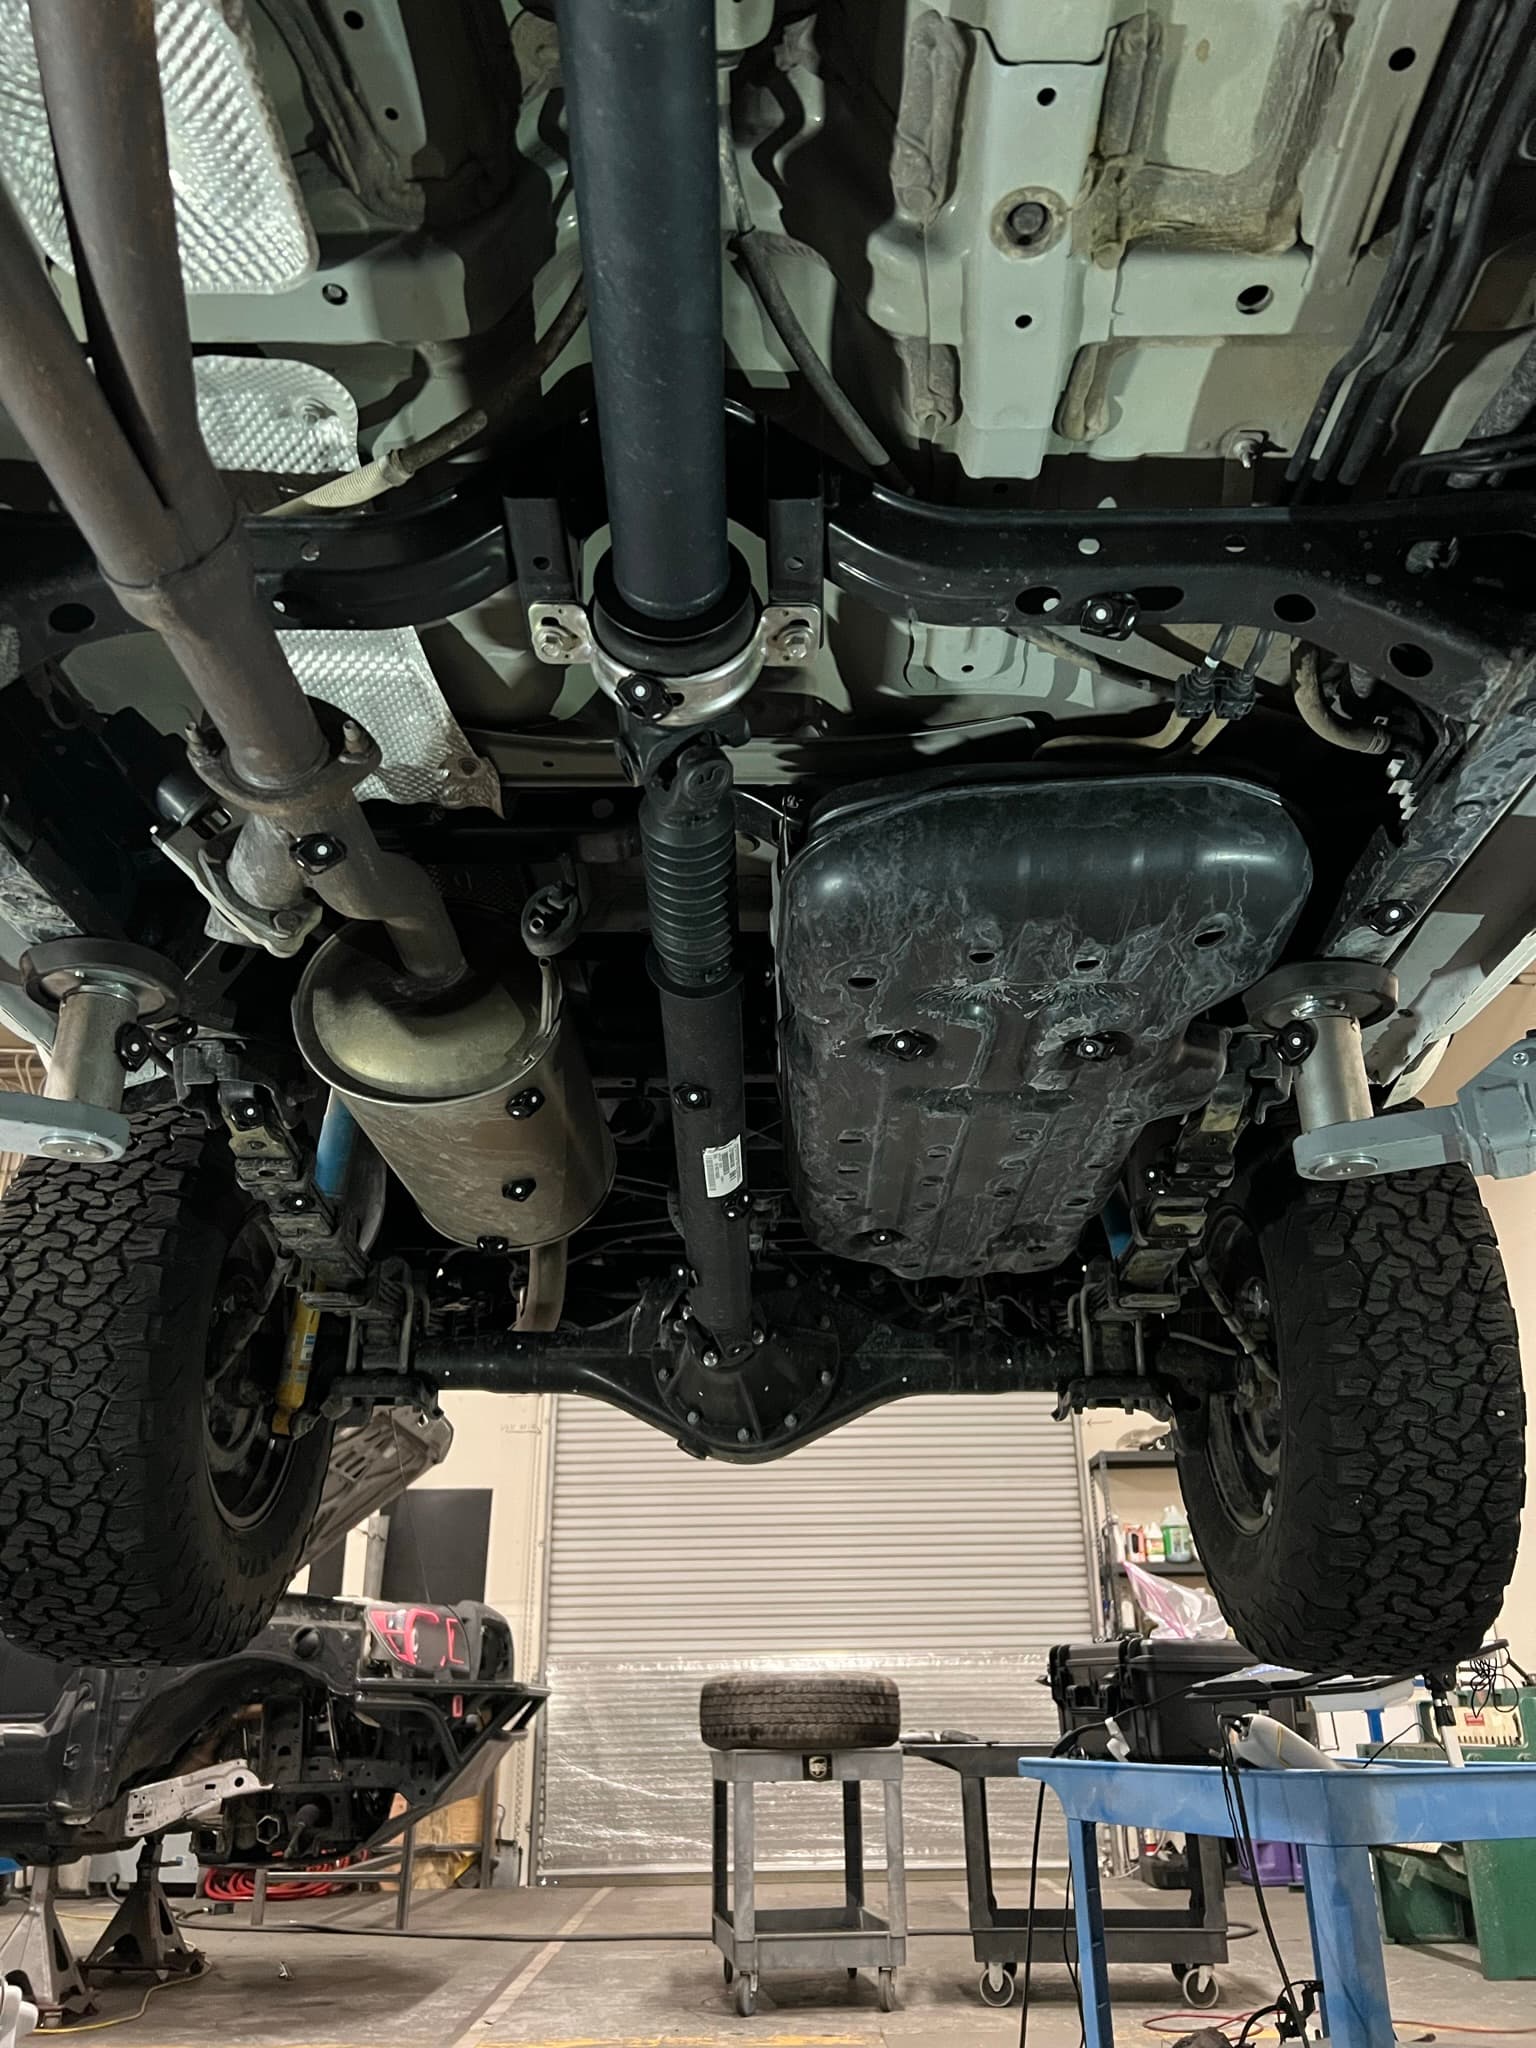
Handheld scanners capture a patch of surface at a time. A bracket fits in a few passes. A cab floor or an underbody needs hundreds of positioning targets, many passes and more care to keep error from stacking up over the full length. Bigger objects also produce more data to clean and align.
Geometry and surface complexity
Smooth, open shapes scan quickly. Deep pockets, undercuts, tight gaps, internal passages and lots of small features take more angles to capture. A scanner only records what it can see, so anything hidden behind a bracket or inside a casting either needs disassembly or can't be captured at all.
Surface finish
Chrome, polished or machined aluminum, black powder coat, tires, glass and clear plastic all reflect or absorb the scanner's light. We apply a thin coat of sublimating scanning spray to those areas. It disappears on its own, so there's no cleanup, but it adds prep time.
The deliverable you need
This is the biggest swing in price. The same scan can end as a raw mesh or as a fully rebuilt CAD model, and the modeling time between those two is often larger than the scan itself.
| Deliverable | What you get | Good for | Relative effort |
|---|---|---|---|
| Raw mesh | STL, OBJ or PLY from the scan, aligned and trimmed | Reference geometry, quick fit checks, archiving | Lowest |
| Cleaned, watertight mesh | Noise removed, holes filled, closed surface | 3D printing, visualization, packaging studies | Low |
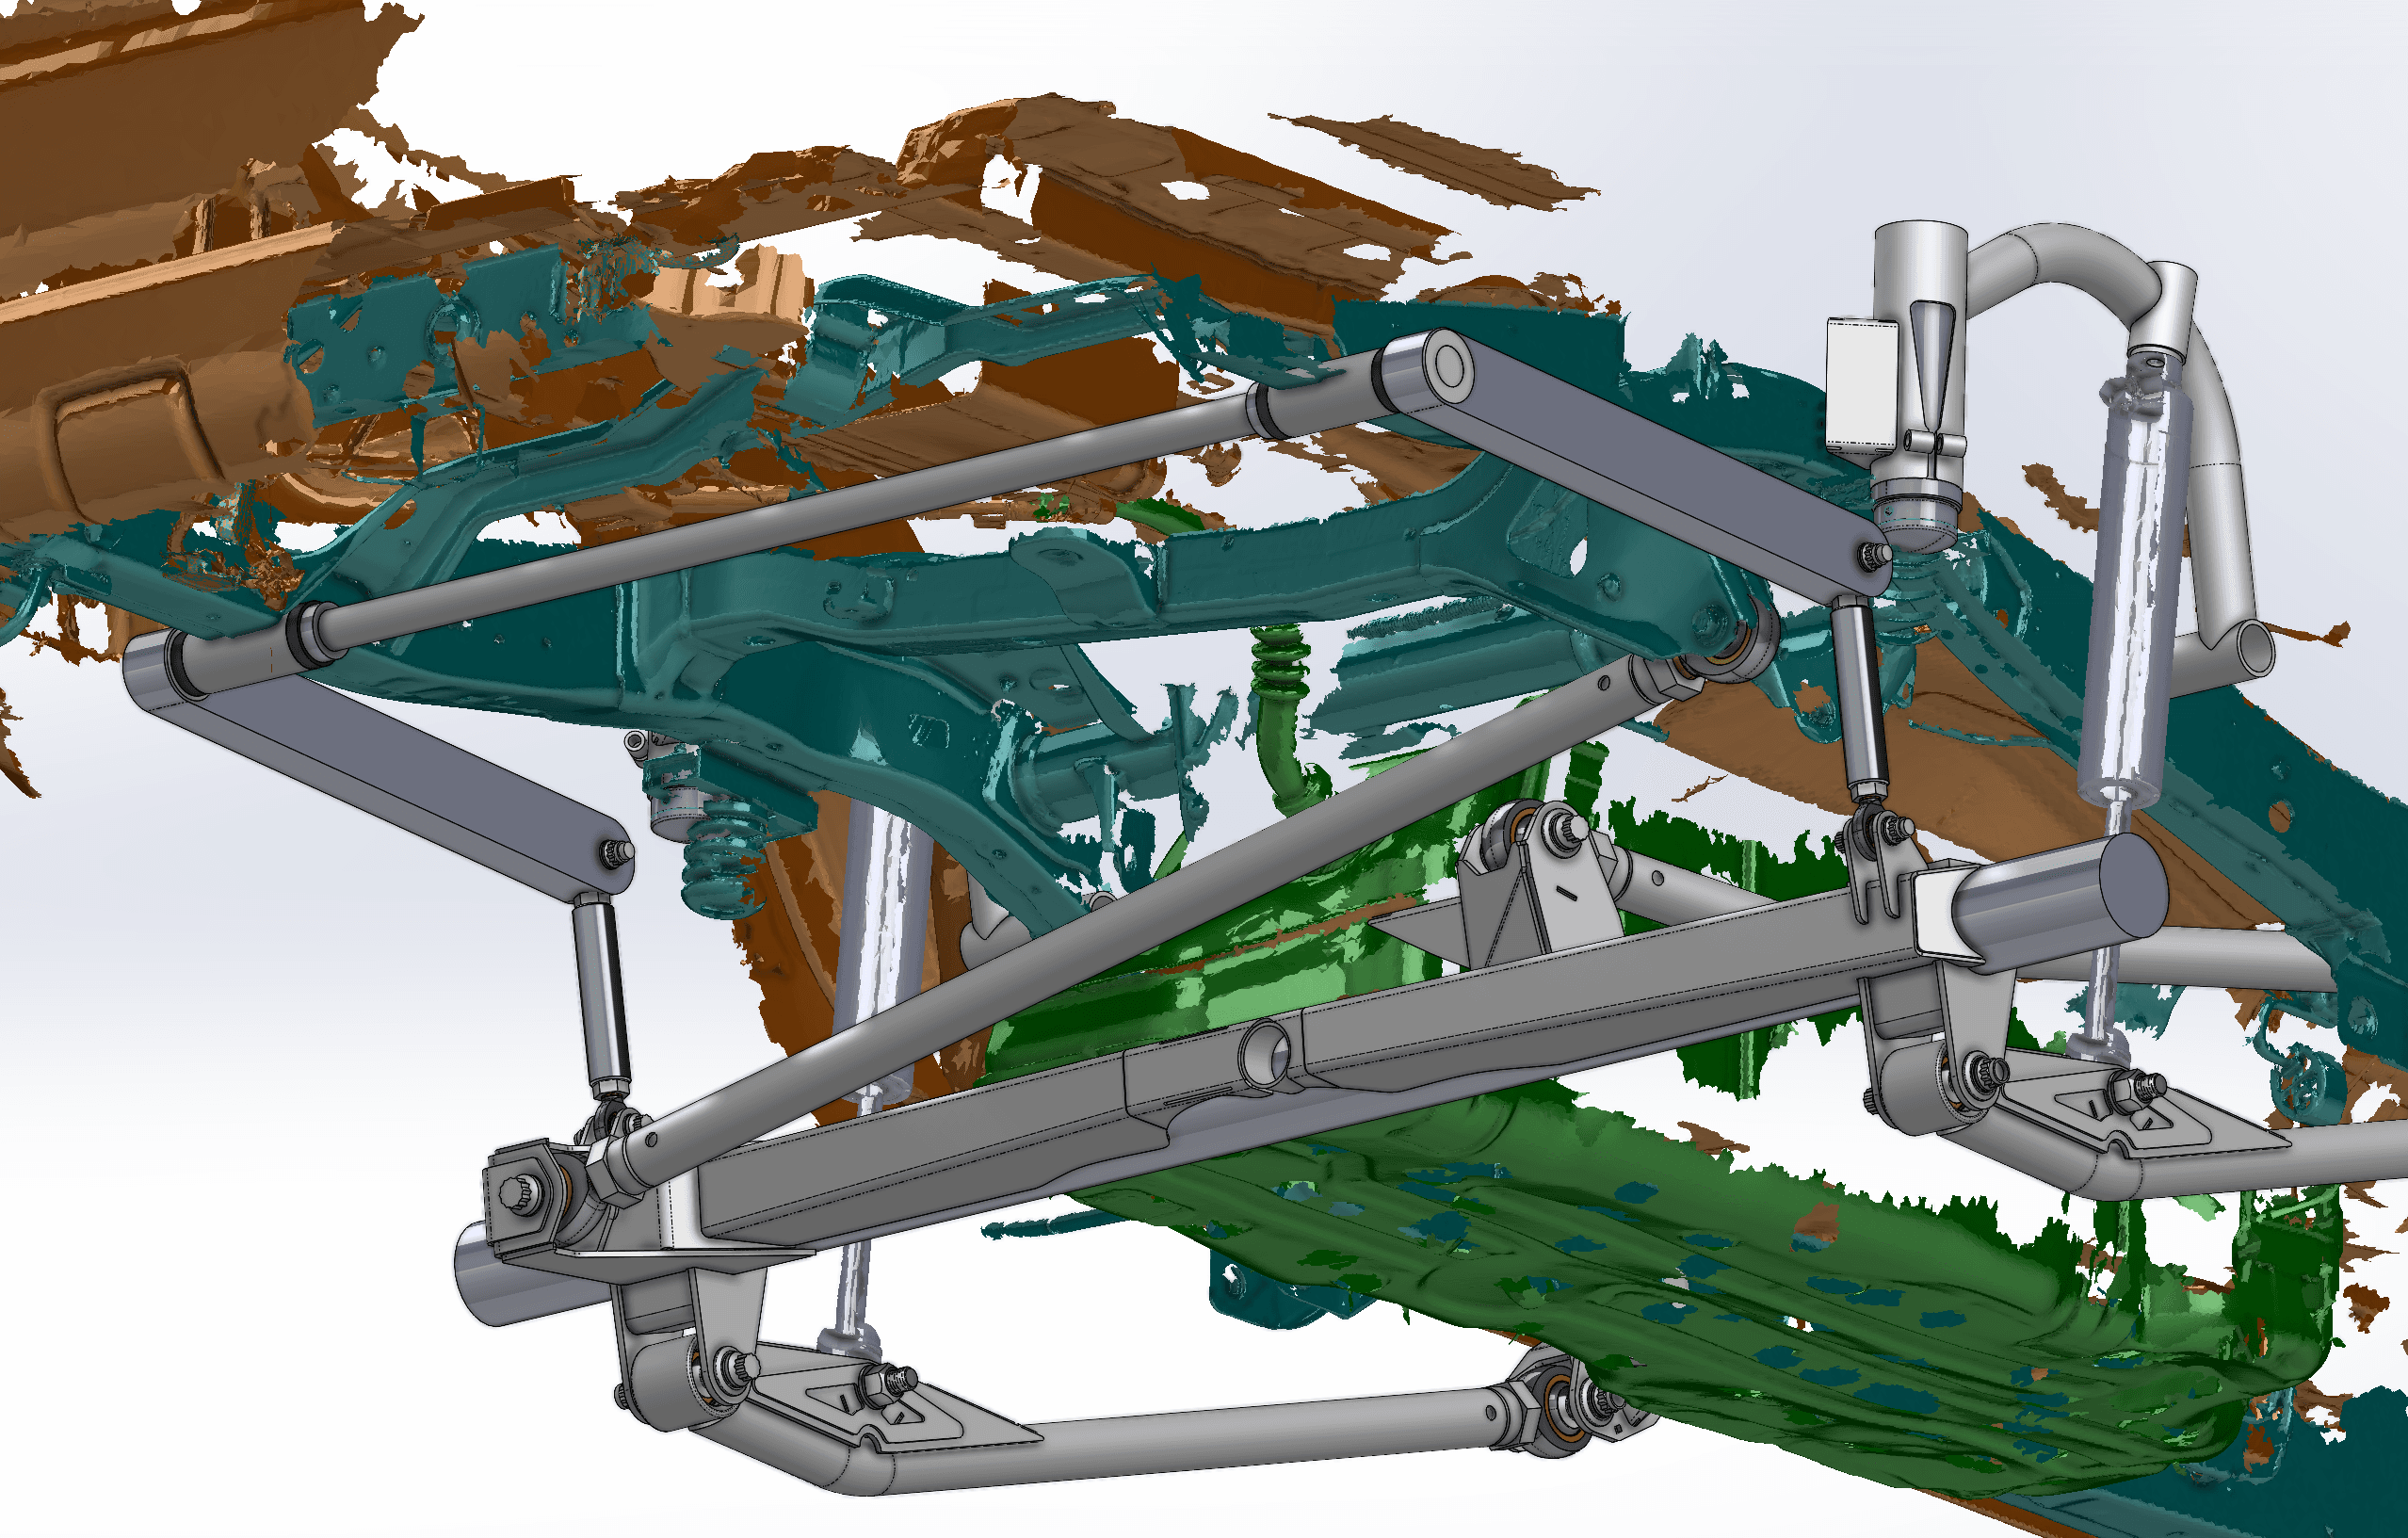
| Key features in STEP | Mesh plus modeled planes, holes, bores and mounting faces | Designing brackets, bumpers and mounts to a frame or housing | Medium |
| Full parametric CAD | Part rebuilt feature by feature in SolidWorks, delivered as STEP, Parasolid (X_T) or IGES | Machining replacements, design changes, drawings | Highest |
| Inspection report | Scan compared to your CAD, with a color deviation map and measurements | Checking parts or fixtures against tolerance | Medium, set by the number of checks |
For a raw mesh, scanning is most of the bill. For full CAD, modeling usually is. Our reverse engineering service covers the CAD side, and our guide to STL vs. STEP deliverables explains the file types in more depth.
Where the scan happens
You have three options, and each has a different cost profile:
- Drop off in Reno. No travel on our side, and same-day scanning can be arranged.
- Ship it to us. You cover freight both ways, but nobody travels.
- We come to you. Travel time and expenses are added. For vehicles mid-build, aircraft, engines on stands, fixtures and anything else that is hard or risky to move, on-site 3D scanning is often still the better value. Grouping several items into one trip spreads the travel cost.
Quantity
Each session has fixed setup: calibrating the scanner, laying out targets, spraying. Scanning five similar parts in one session costs less per part than five separate jobs, because that setup is shared.
Accuracy requirements
Our scanners are specified at accuracy up to 0.03 mm (0.0012 in). That is a best-case figure. If you need tight results over a large part, expect more targets, slower passes and check measurements, which take time. If your tolerance is loose, say so, and we won't spend hours chasing precision you don't need.
Turnaround
If you have a hard deadline, tell us up front. A date that forces us to rearrange other work can affect the price. A flexible date never hurts.
Typical scan times by job
These come from our published scan-time guide. They cover time on the scanner only. CAD modeling, inspection reports and travel are separate.
| Job | Typical scan time |
|---|---|
| Small, simple part (raw mesh) | 0.5 h |
| Helmet or steering rack with a few features | 1 h |
| Complex surfaces or many features | 2–3 h |
| Medium-large complex object | 4–6 h |
| Complete vehicle, inside and out | 8–12 h |
Use the table to see roughly where your job sits. A machined bracket is near the top. An engine, a cab interior or a full underbody moves down the list fast, because every surface needs targets and a clear line of sight.
How to lower your 3D scanning cost
Most of the savings come from reducing unknowns and not paying for work you don't need.
- Send photos and rough dimensions. A few photos from different sides, the overall size and a note on the finish let us quote what's actually there instead of padding for surprises.
- Say what the scan is for. "I'm designing a bumper" and "I need to machine a replacement" lead to very different deliverables. Tell us which features matter, such as mounting holes, bores or sealing faces, and we'll focus the modeling there.
- Choose the right deliverable. If you only need mounting points to design against, don't pay for a full parametric model. If the mesh is just a reference in your CAD, you may not need it watertight.
- Batch your parts. Group similar parts into one session so setup is shared.
- Prep it yourself. Clean the part, remove loose items and take off whatever blocks the areas you need. Our guide on how to prepare for 3D scanning walks through it.
- Drop it off or ship it if it can move. Saving a trip is the simplest way to cut cost on a small part.
- Send the data you already have. Drawings, CAD of mating parts and known dimensions speed up modeling and checking.
What to compare when you get scanning quotes
Quotes from different shops can look far apart because they describe different work. Before you compare prices, check these:
- The deliverable and format. Raw mesh, cleaned mesh, key features or full CAD? STL or STEP? Ask what file you'll actually get.
- Who does the modeling. Is CAD work included, or is the quote for scanning only?
- How accuracy is stated. A spec sheet number is a best case for the scanner, not a promise for your part. Ask what to expect at your part's size.
- Prep and travel. Are spray, targets, travel and freight included or billed separately?
- Revisions. If the model needs a change after review, how is that handled?
A clear quote answers all of these. If you're not sure which deliverable you need, describe the end goal and we'll recommend one.