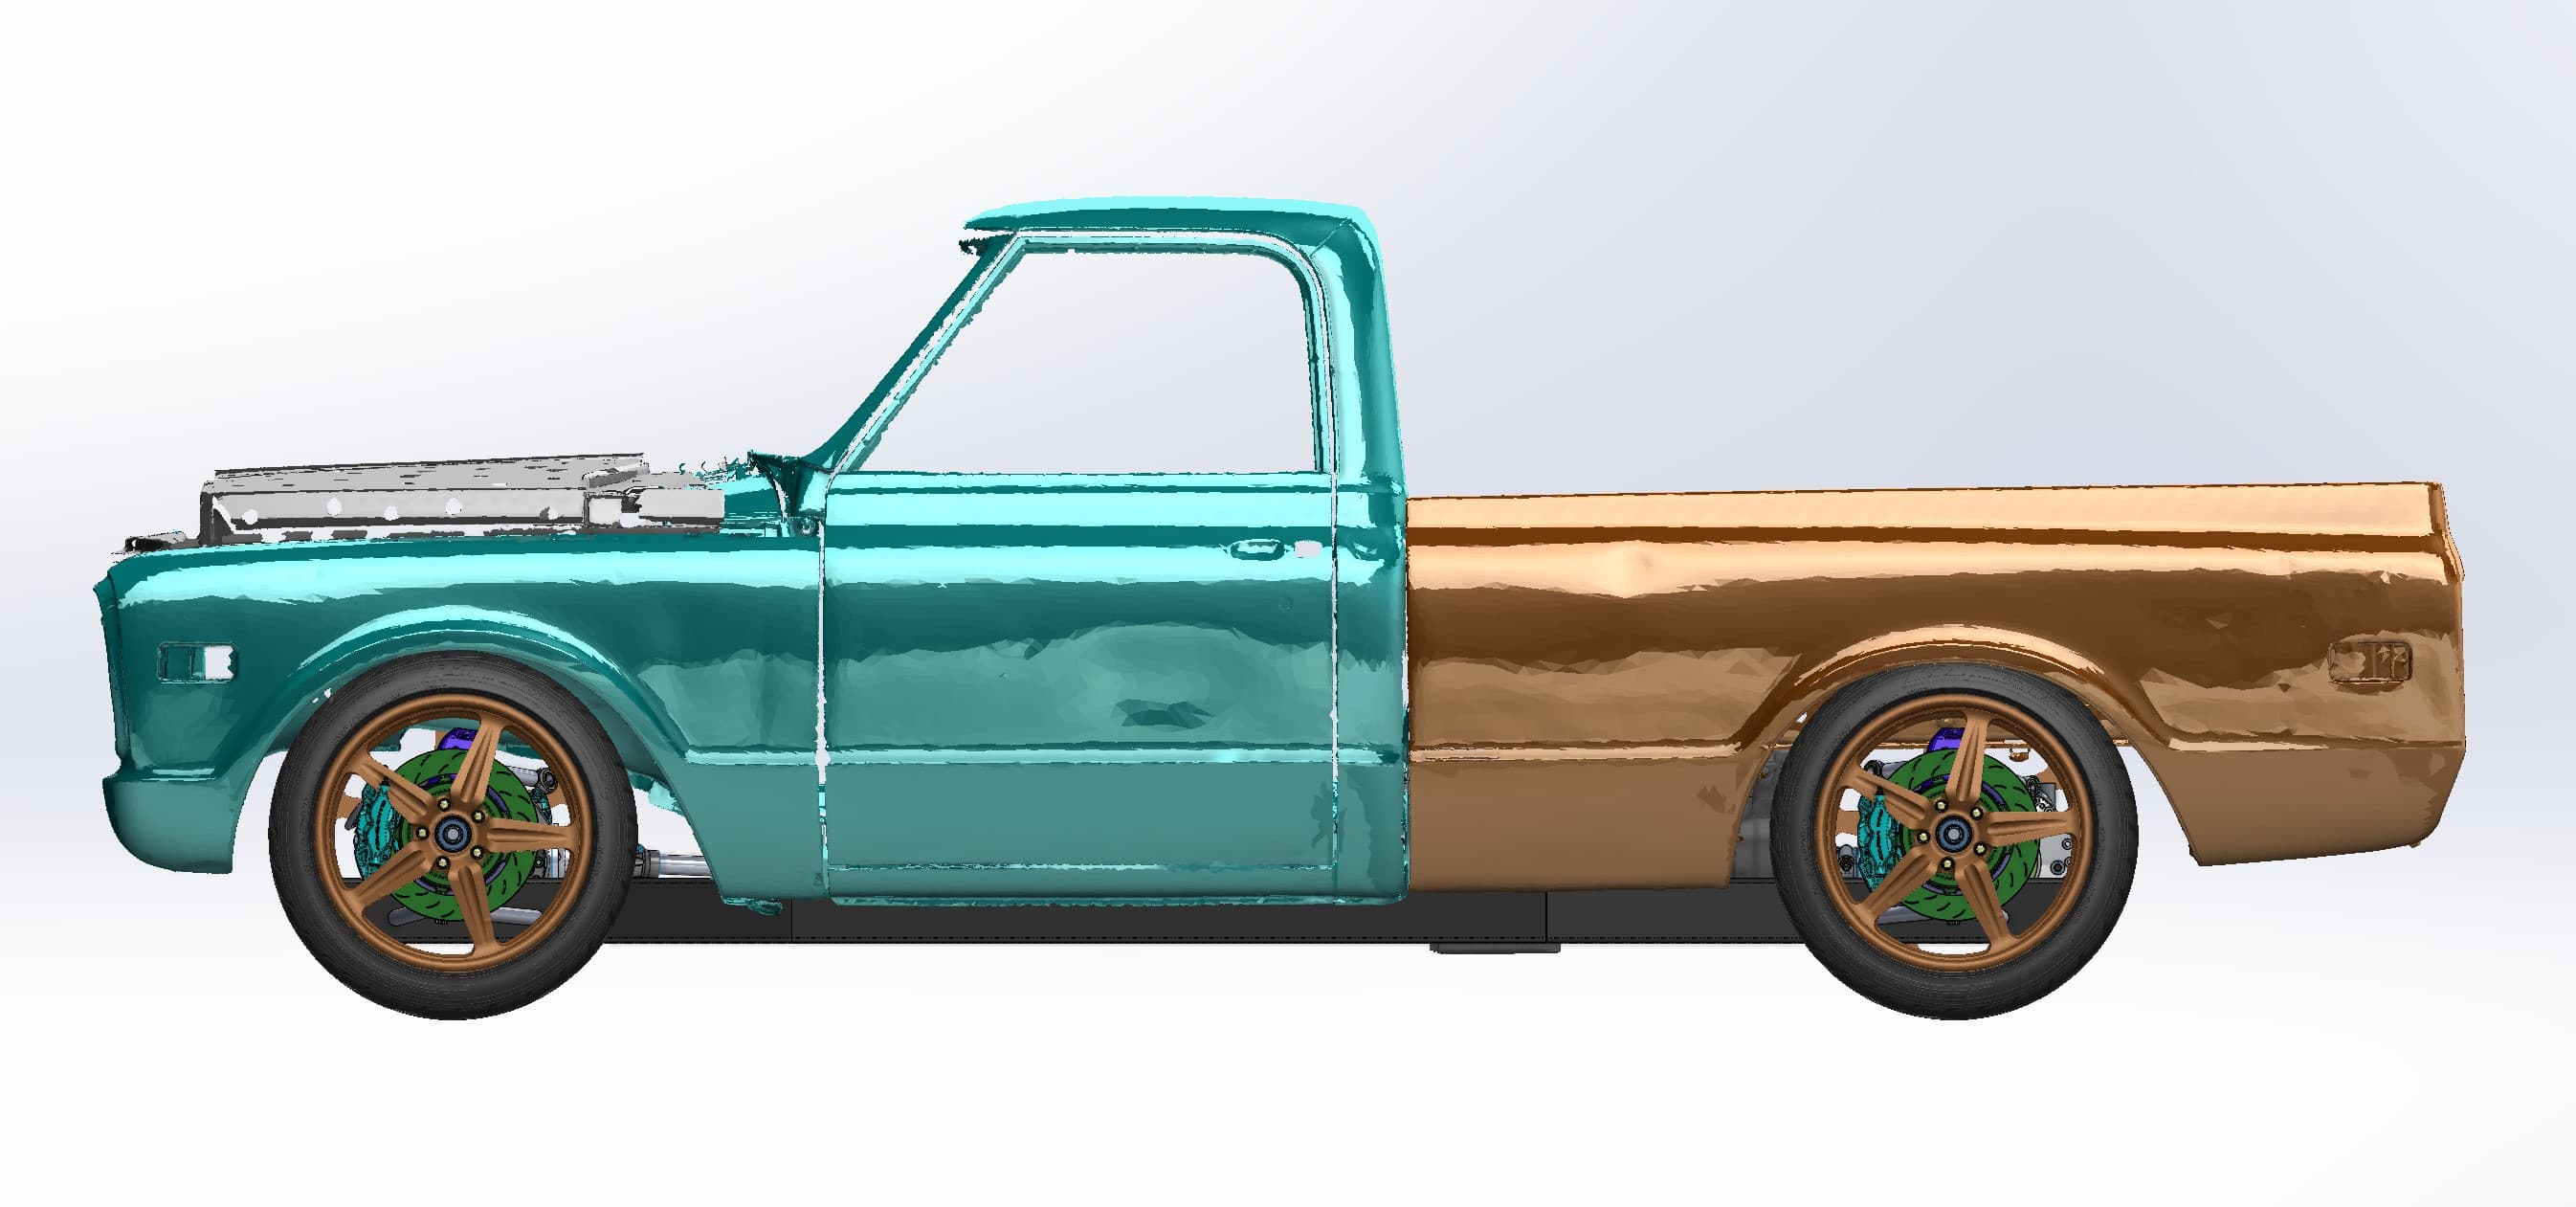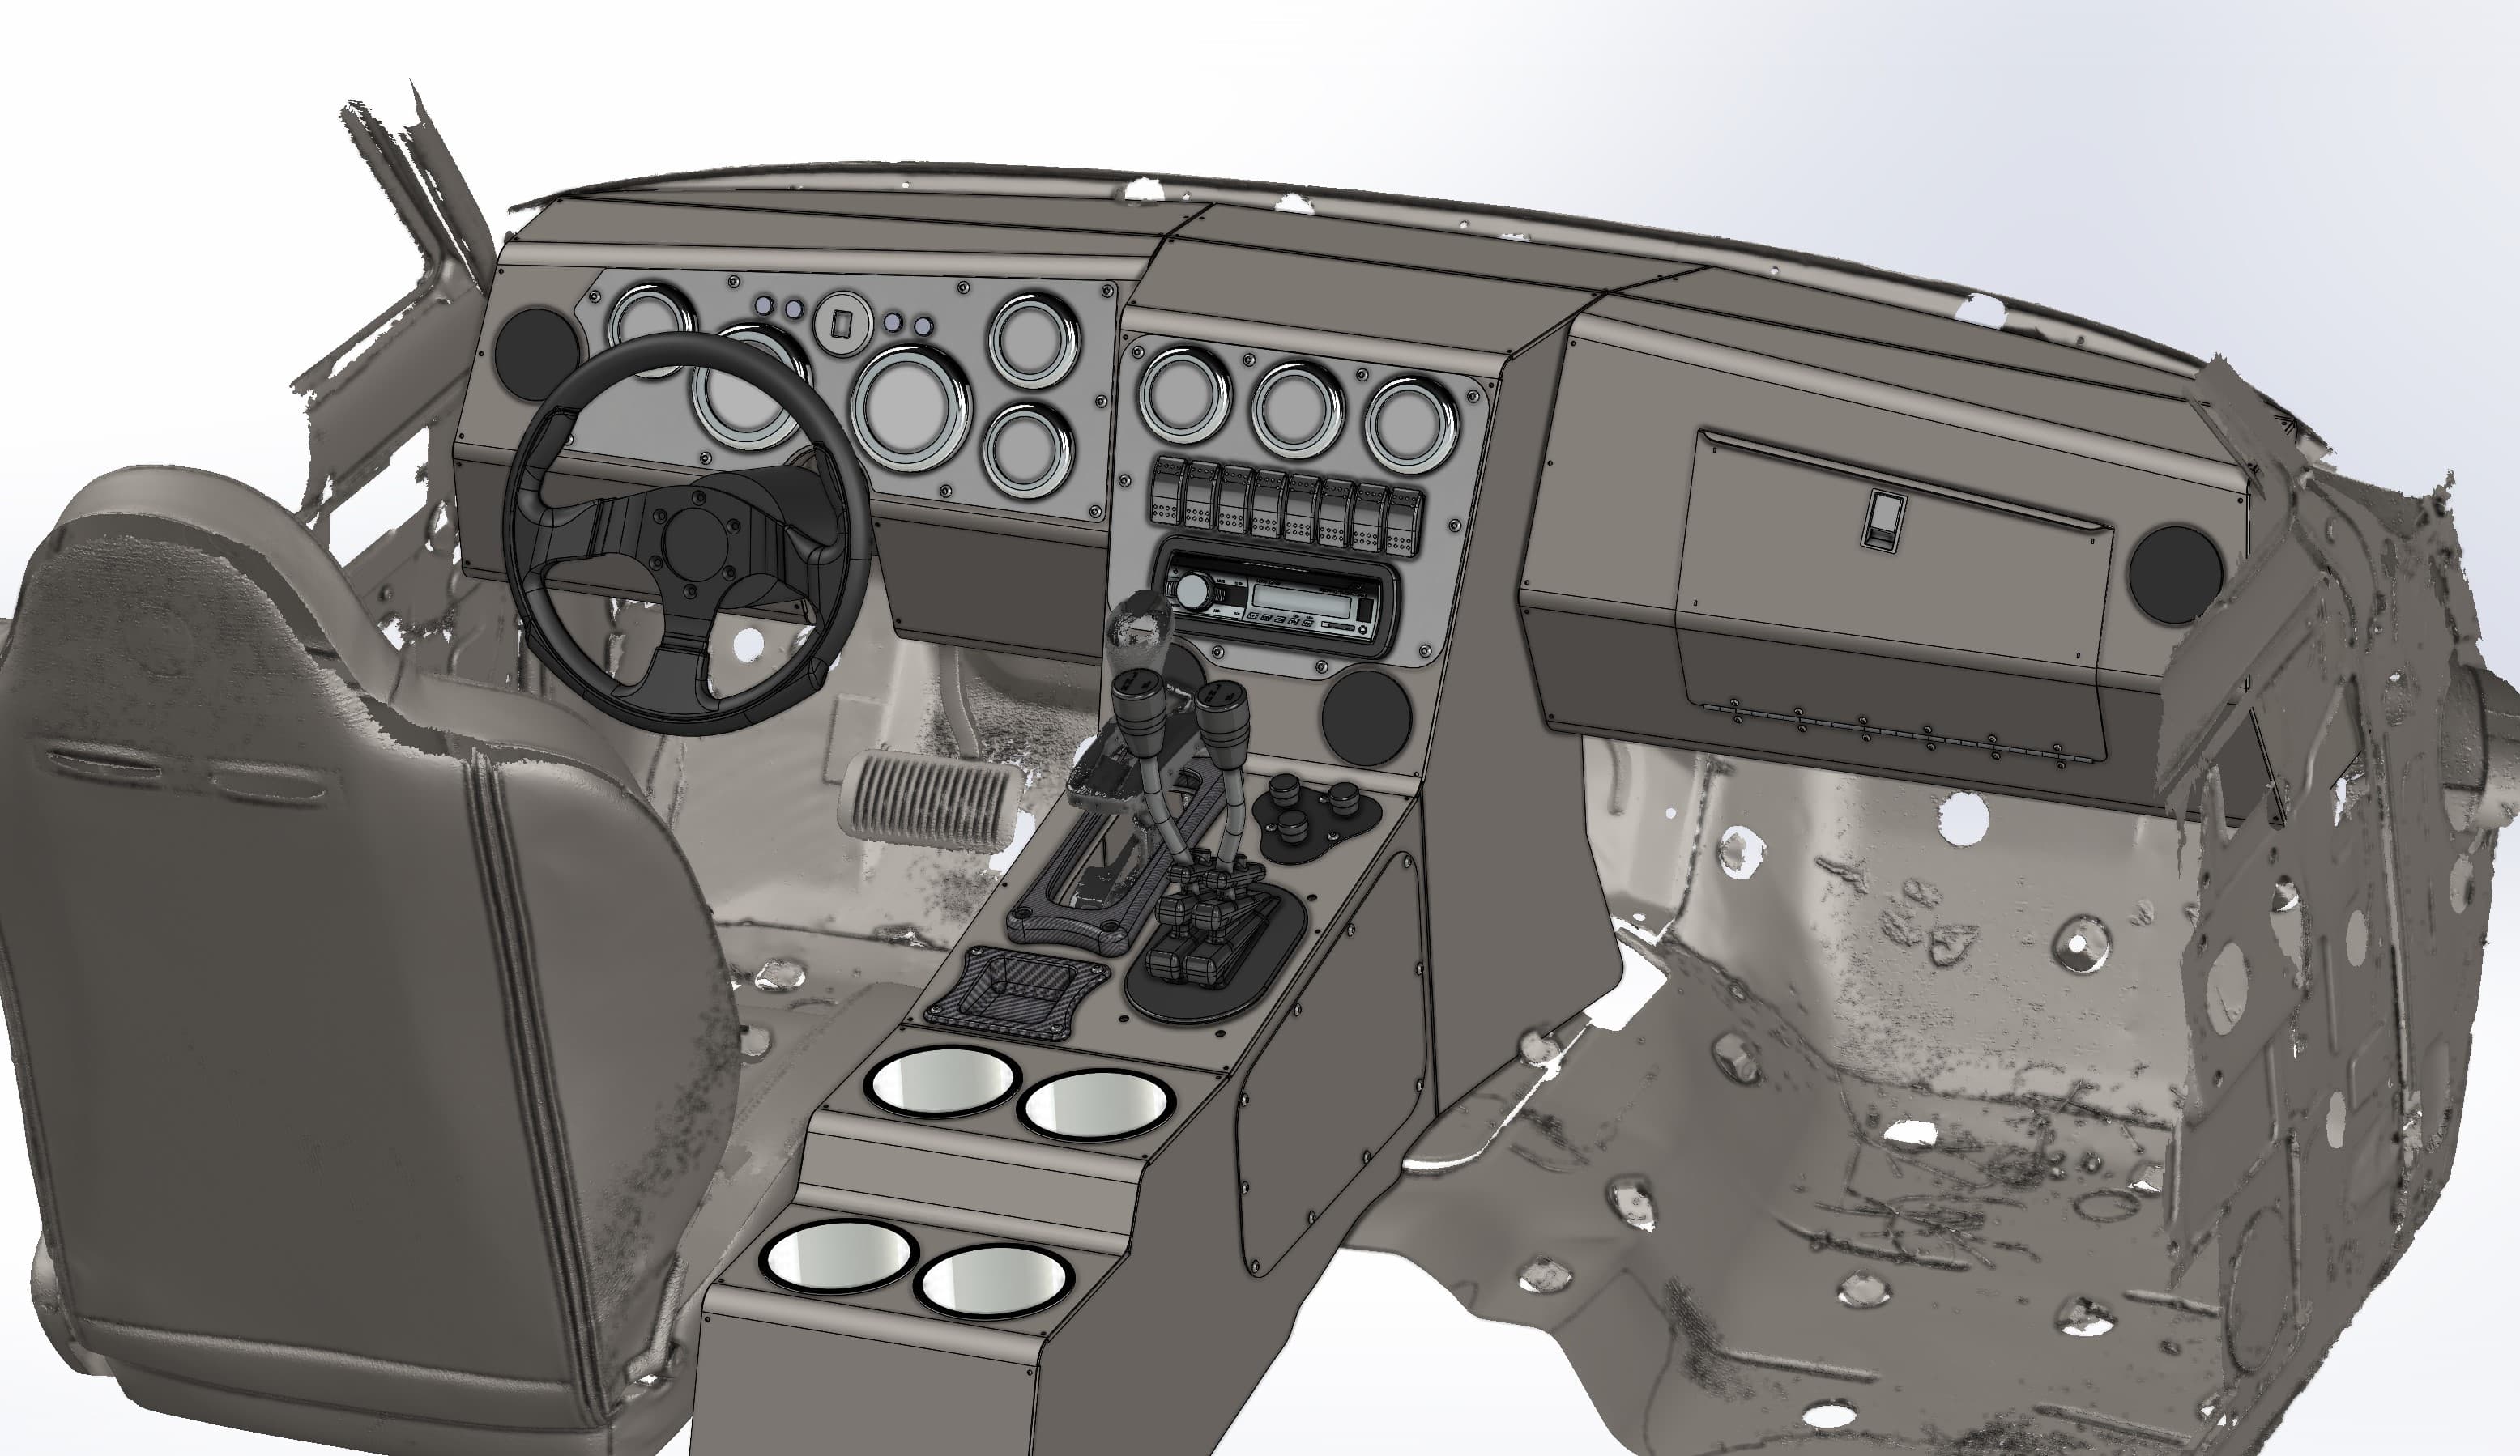
To prepare a part or vehicle for 3D scanning, clean it, remove anything loose or in the way, and tell the scan team what the scan is for and which features matter most. We handle positioning targets and scanning spray. Your job is to get the object clean, accessible and clearly explained. That's what makes a scan fast and gets the data right the first time.
Good 3D scanning preparation saves scan time and avoids a second visit. The steps below cover parts and vehicles, scans at our Reno shop or at your site, and parts you ship to us. There's a one-page checklist to download near the end.
Tell the scan team what the scan is for
The most valuable prep is information. Before scan day, send us:
- The purpose. Designing a bumper, machining a replacement, checking a fixture against CAD, or archiving a one-off part. Purpose decides the deliverable and where we spend the most care.
- Critical features. Mounting holes, bores, sealing faces, suspension hard points. Mark them on a photo with arrows so nothing is missed.
- Reference surfaces. What the part locates from: frame rails, an axle centerline, a mounting face, or the datums on your drawing. We align the scan to these.
- The deliverable. Mesh, key features or full CAD, and in which format.
- Existing data. Drawings, CAD of mating parts and any dimensions you already trust.
- Constraints. Surfaces that can't take adhesive or spray, parts that can't be removed, and your deadline.
Clean the part
Dirt, grease, mud, loose rust and flaking undercoating all get scanned as if they were part of the surface. Oil films also make the surface reflective and stop targets from sticking.
Degrease the part and let it dry fully. On a vehicle, wash the underbody a day or two ahead so it's dry by scan day. Don't sand, paint or polish critical surfaces to make them look better. That changes the geometry we're trying to measure.
Remove loose items and anything in the way
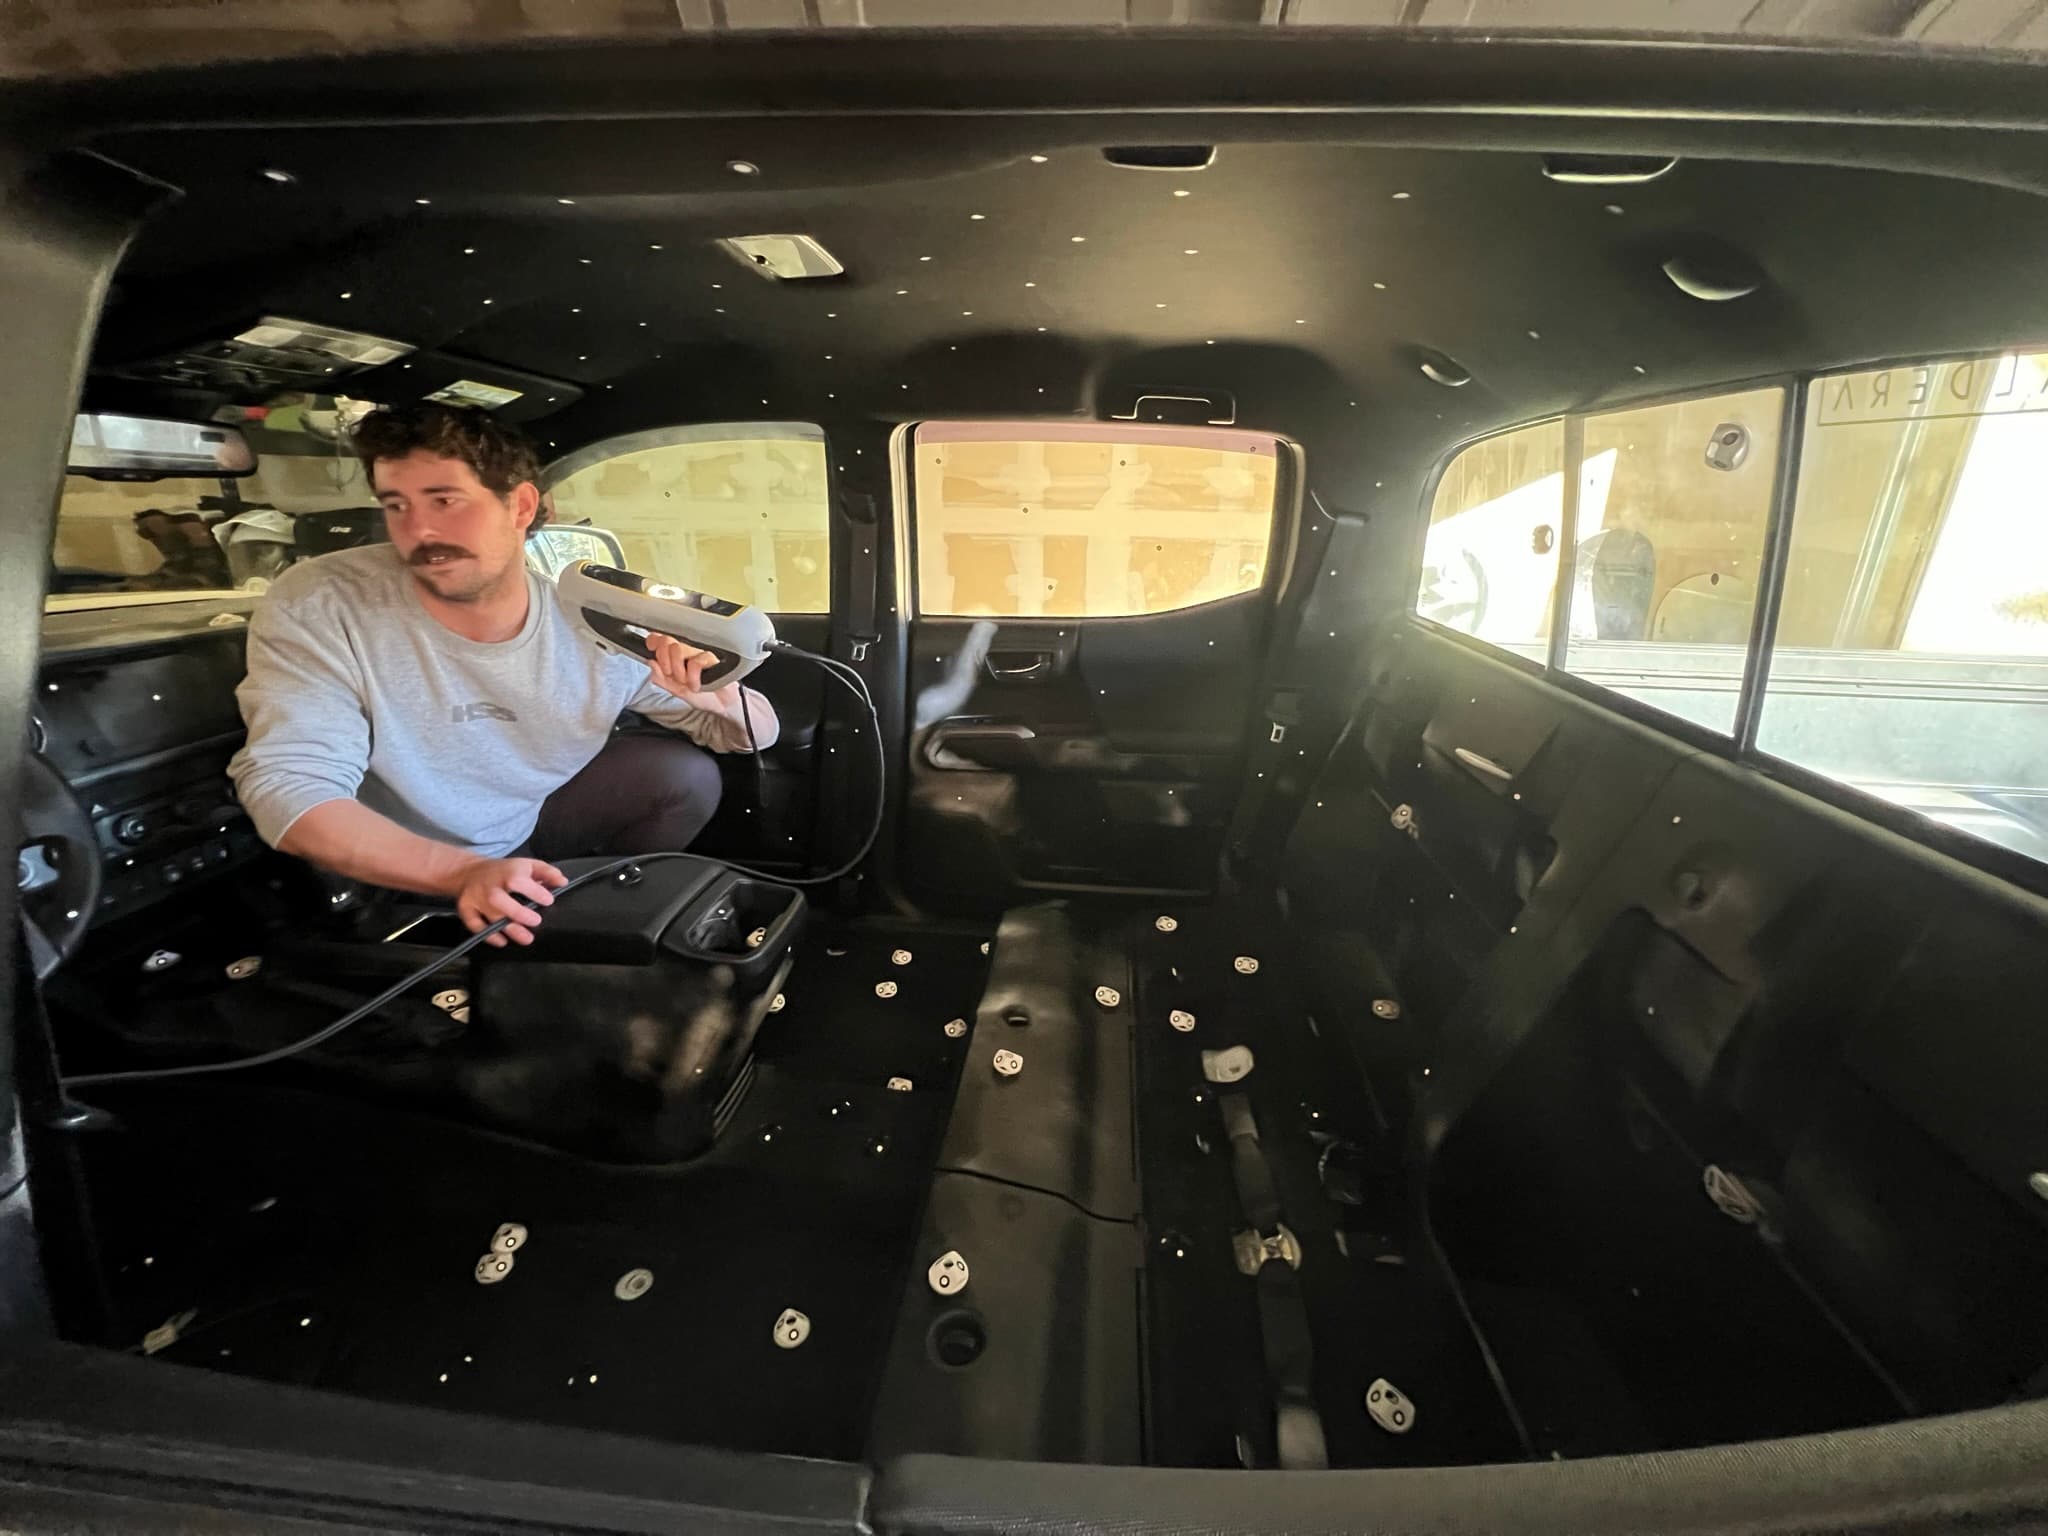
For parts, take off shipping tags, zip ties, loose hardware and protective film, unless the film protects a finish you need kept. For vehicles, empty the cab and bed: floor mats, tools, cargo and anything else that isn't part of the vehicle.
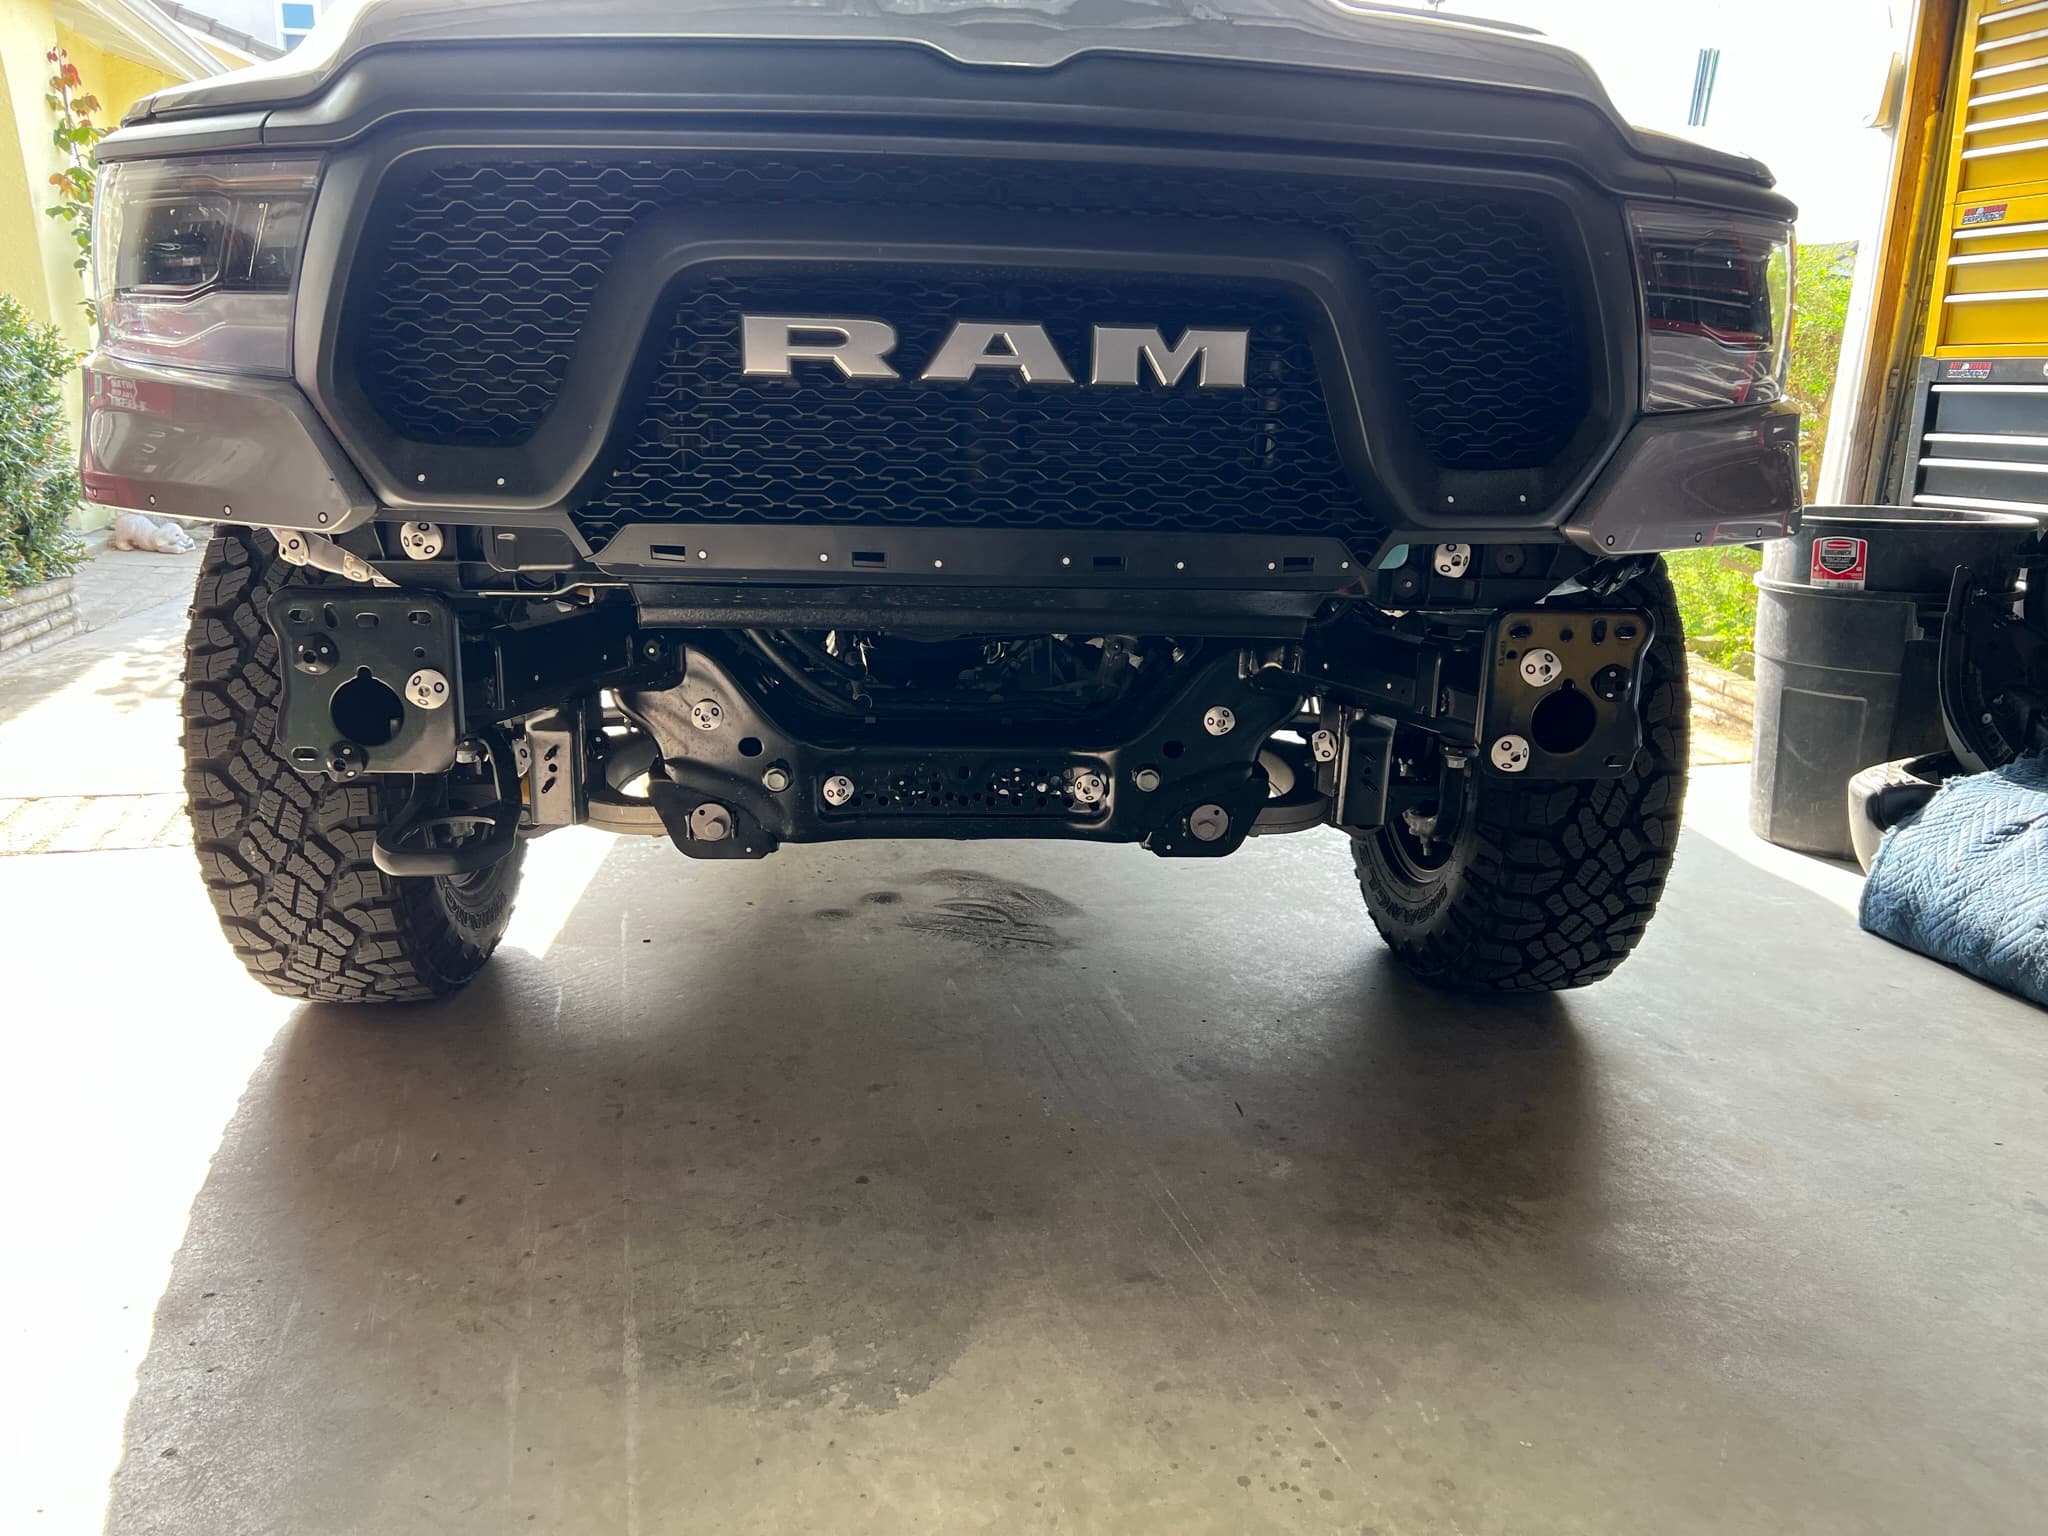
Then think about what blocks the features you need. Remove the bumper to scan frame horns and bumper mounts. Pull skid plates for underbody work. Strip seats, carpet and headliner if you're designing a roll cage. But leave on anything your new part has to clear. If a bracket must miss the exhaust, the exhaust needs to be in the scan.
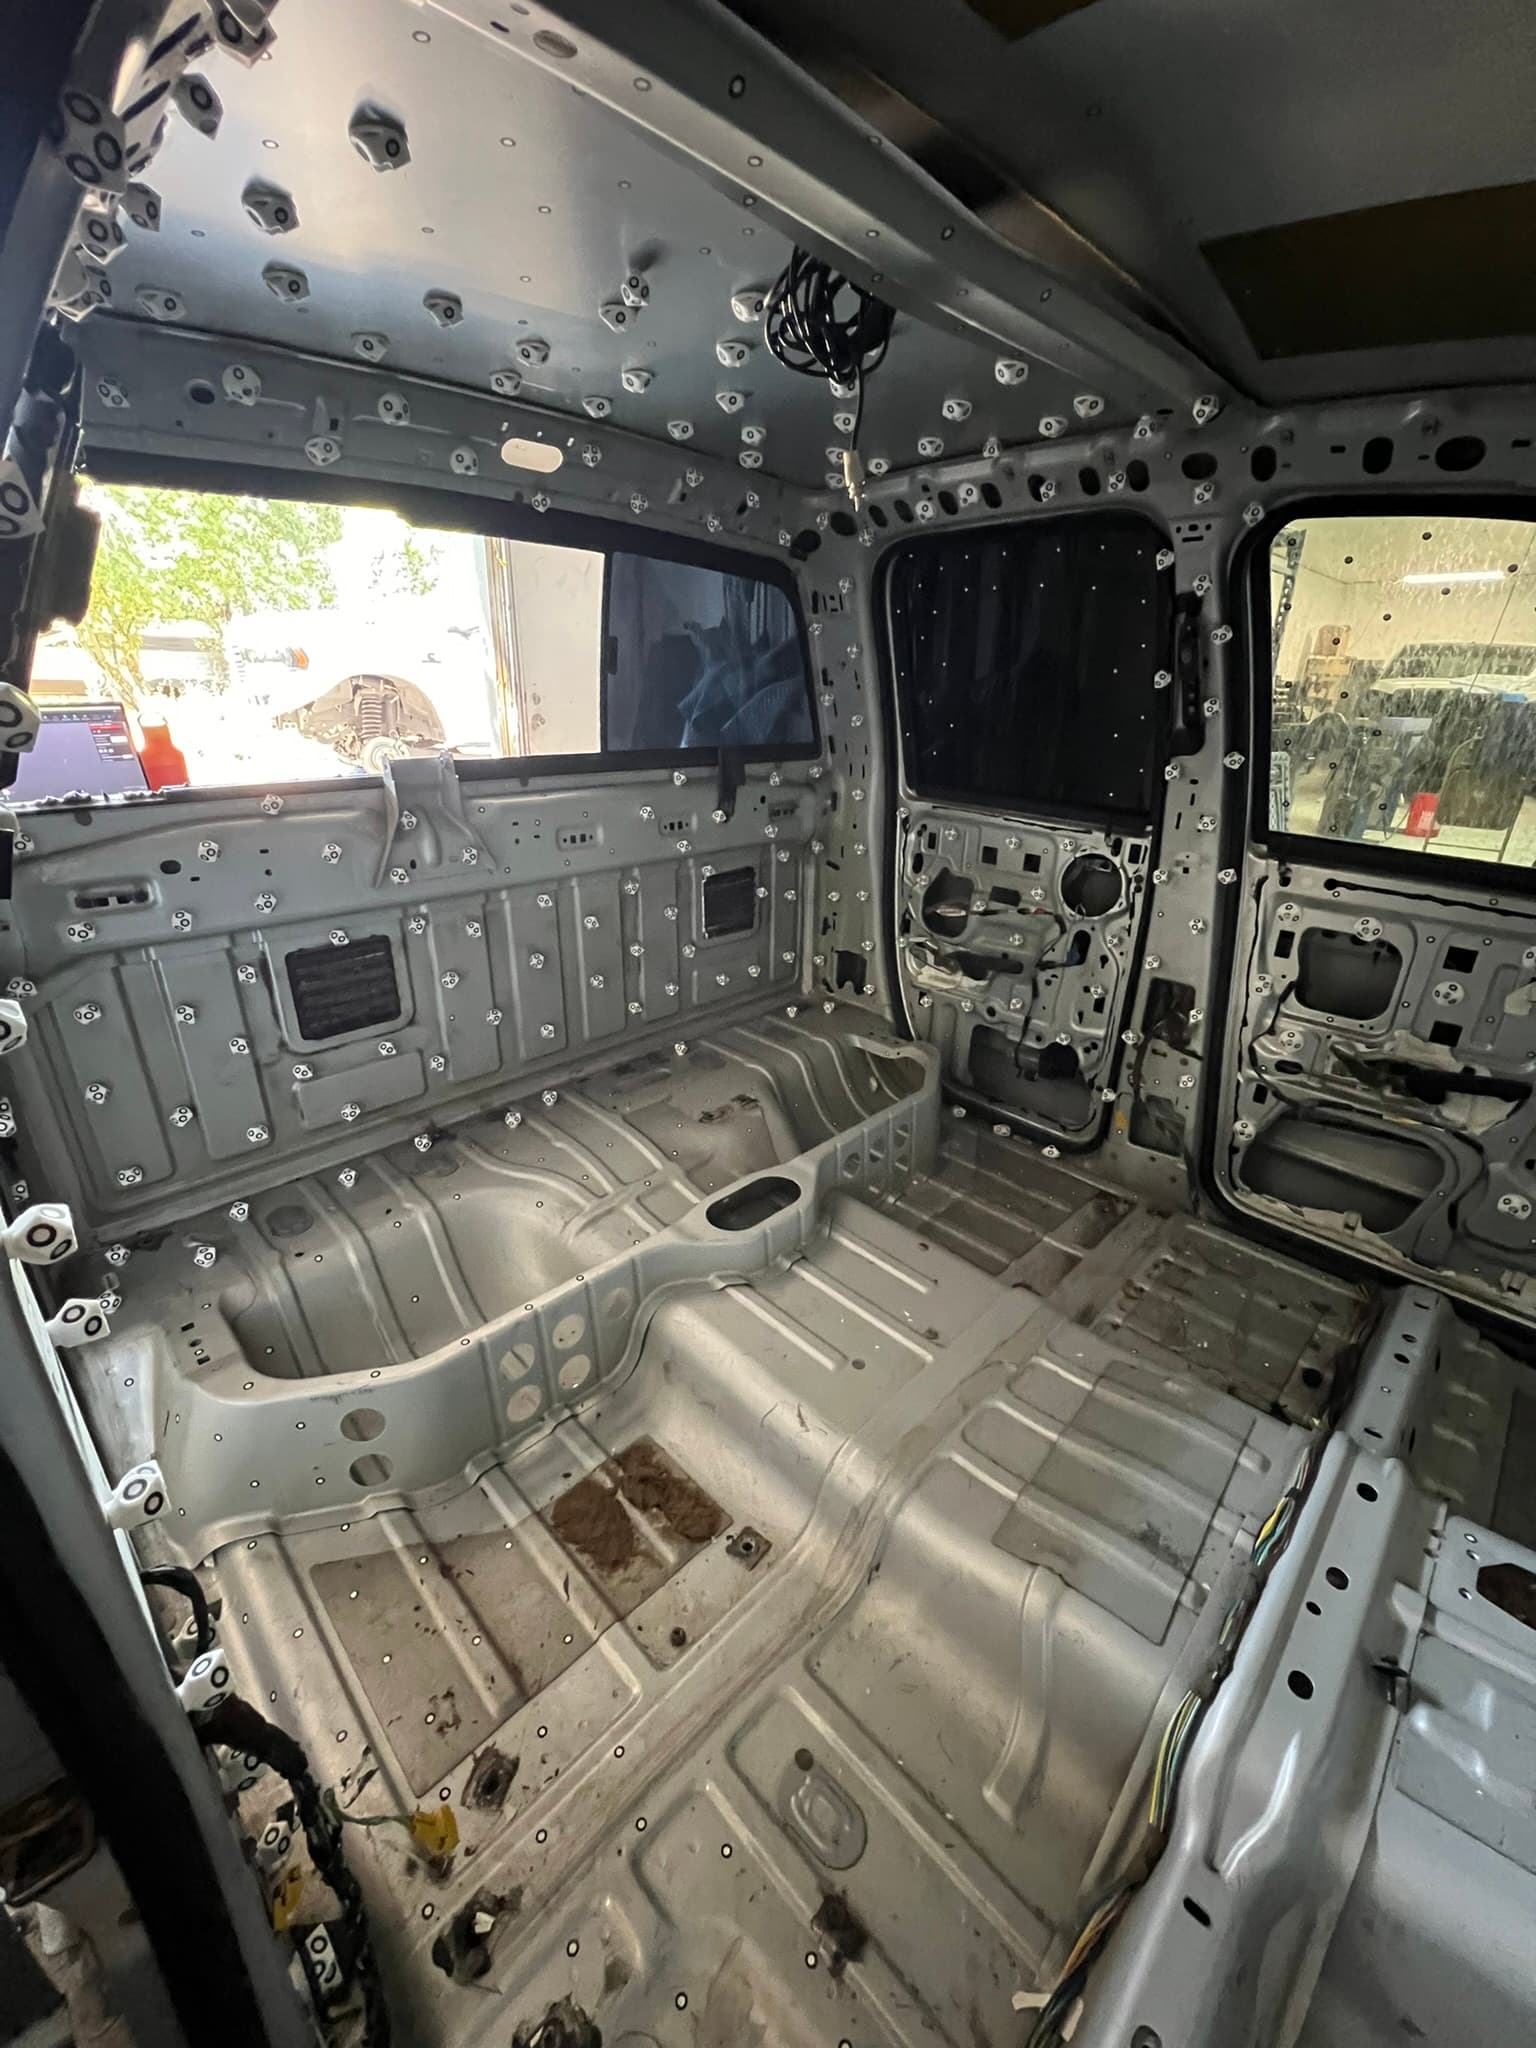
Positioning targets
Positioning targets are small reflective dots that give a handheld scanner fixed reference points, so it always knows where it is relative to the part. We place them. You don't need to.
We keep targets off critical edges and small features, and fill the spots where they sat during processing. They're made to peel off cleanly. If adhesive can't touch a surface, like fresh paint or a sensitive coating, tell us ahead of time. We can use standoff or magnetic targets, or place targets on the stand around the part instead.
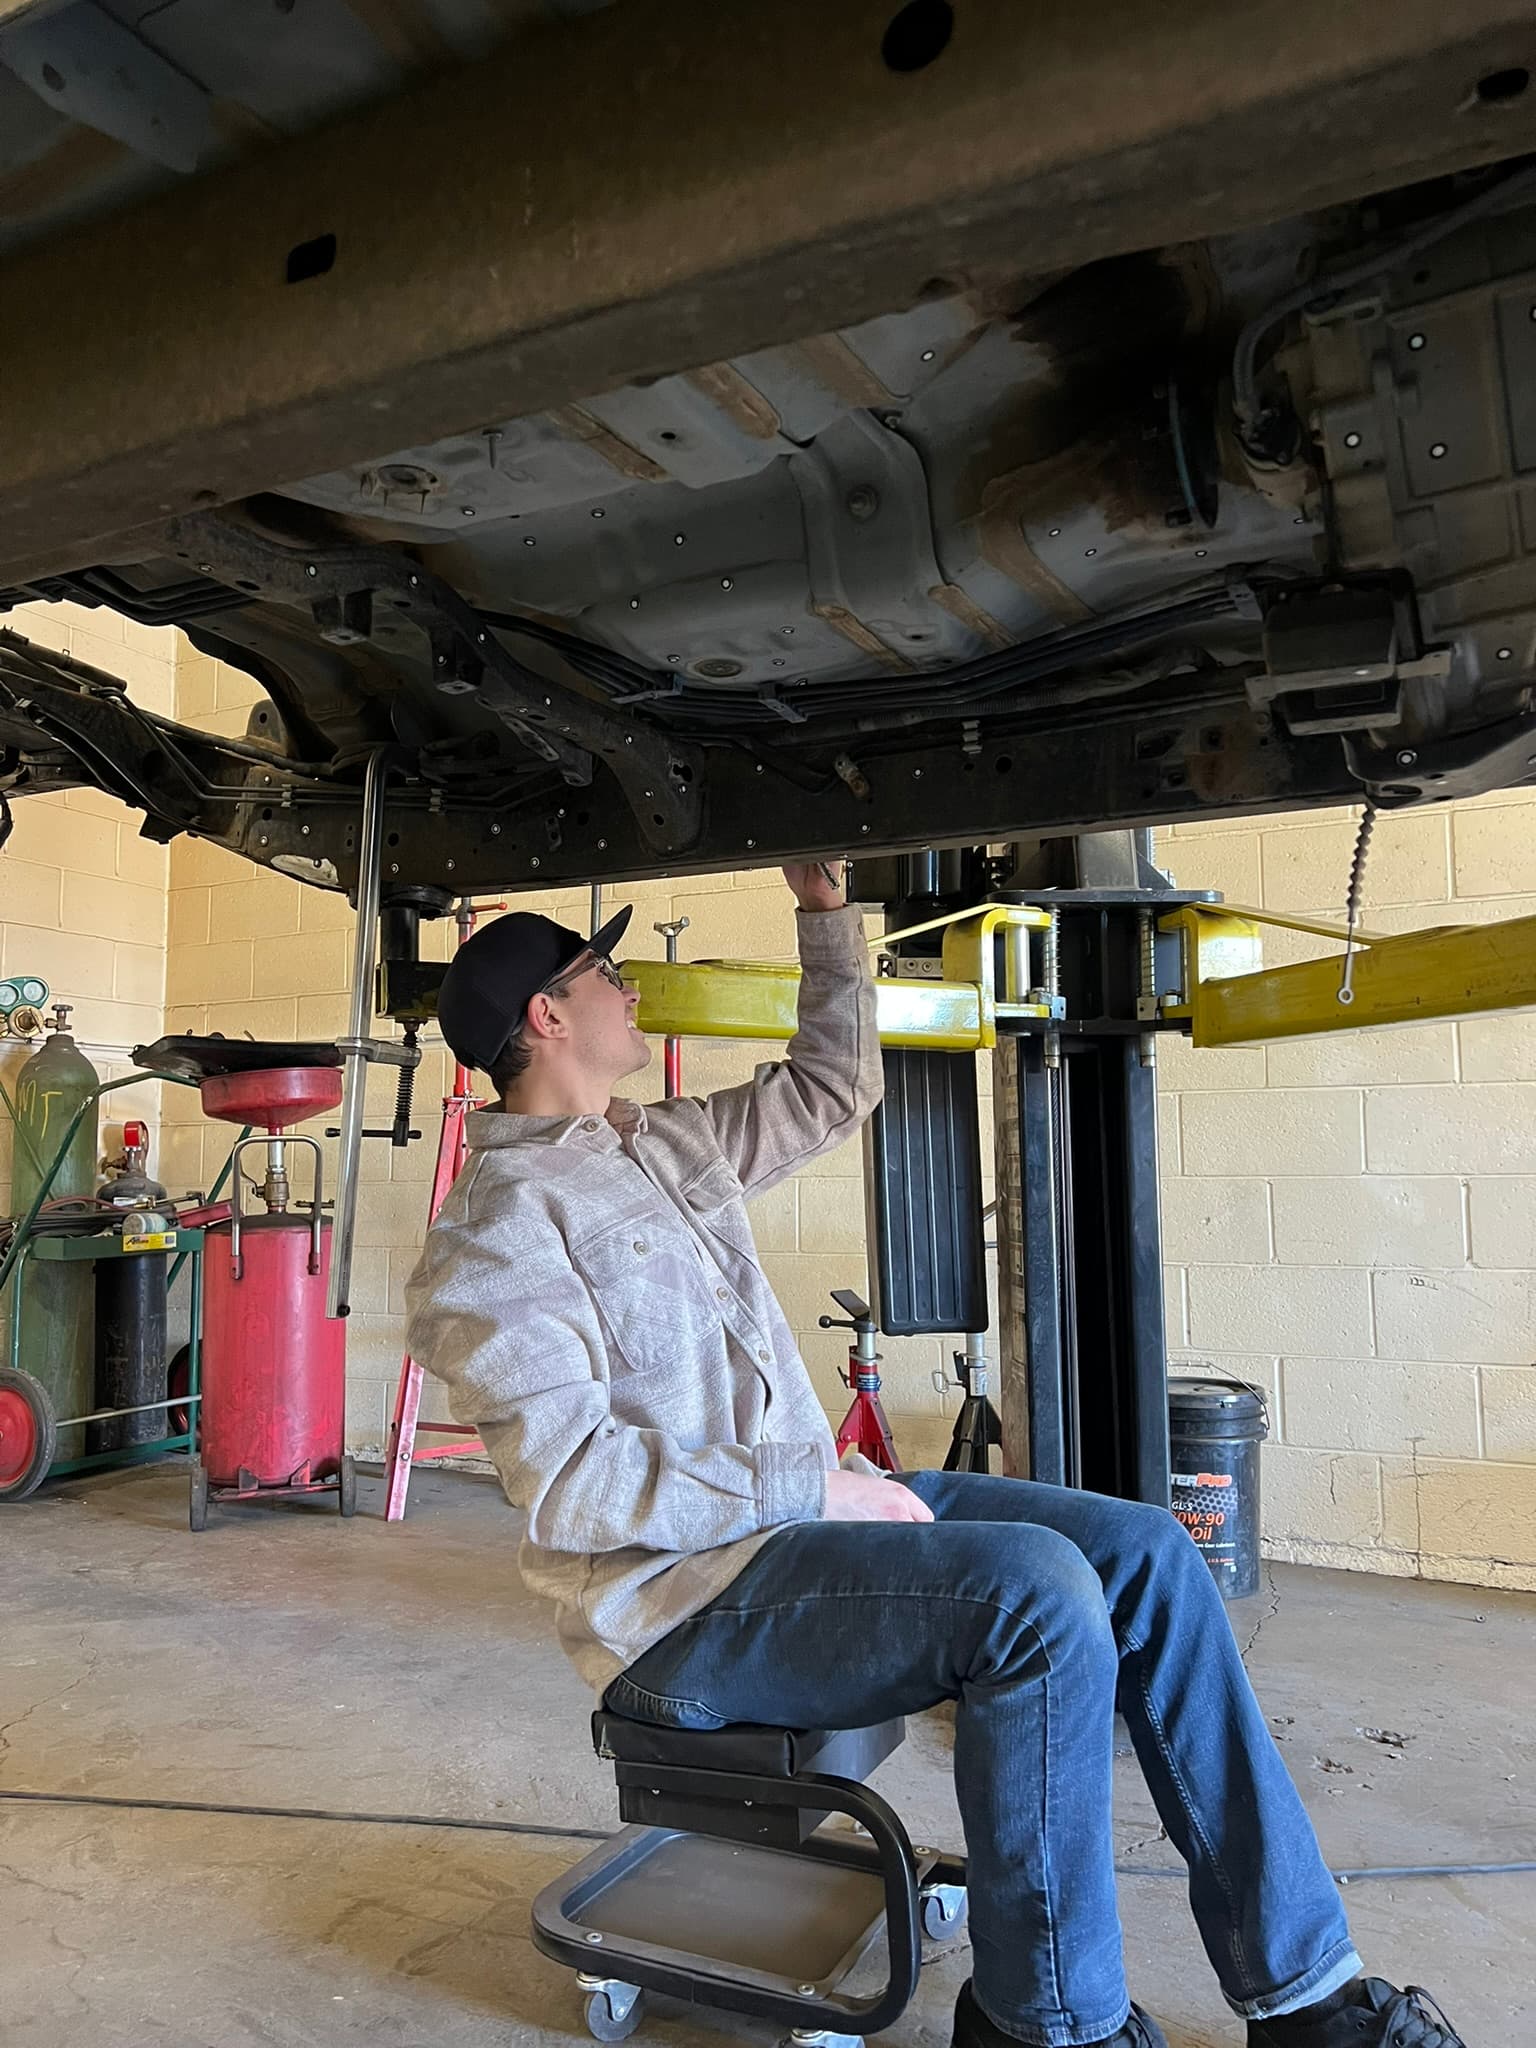
Scanning spray for shiny, dark and clear surfaces
Scanners measure light bouncing back from the surface. Chrome, polished or machined metal, black anodizing, black powder coat, tires, glass and clear plastic either reflect that light away or absorb it.
We use a sublimating scanning spray on those areas. It leaves a thin matte layer that the scanner reads easily, then evaporates on its own and leaves no residue to clean off. We apply it only where it's needed and keep it light on critical surfaces. If a surface can't take any coating at all, tell us so we can plan around it. Our article on blue laser vs. structured light scanning explains why some surfaces scan better than others.
Vehicle-specific prep
Vehicles have a few extra things to plan for:
- Lift access. For underbody, frame or suspension work, a two-post lift is the fastest setup. Tall jack stands on a solid, level floor also work.
- Ride height. On a lift, the suspension droops. If you need ride-height geometry for link angles, bump travel or fender clearance, scan the vehicle on its wheels or supported at ride height, and tell us which you need.
- Bumpers off for mounting points. If you're designing a bumper or anything that bolts to the frame horns, remove the old one first.
- Fluids and clutter. Fix active leaks onto the area being scanned, and clear the bed, cab and wheel wells.
- Steering and openings. Center the steering and decide whether doors, hood and tailgate should be open or closed.
- Hands off during the scan. Nobody should work on or move the vehicle mid-scan. Movement breaks the alignment.
On-site prep
When we come to you through our on-site 3D scanning service, a little setup on your end keeps the day short:
- Power. A standard outlet within reach of the work. Tell us if there isn't one.
- Space. Room to walk all the way around the object with a laptop cart.
- Access. Gate codes, badges, escorts, safety briefings and hangar or shop rules sorted out before we arrive.
- Lighting. Normal shop or hangar lighting is fine. Avoid direct sun on the part when you can. Shade or indoors is best.
- Stability. The object should be secured and still. For tight-tolerance inspection, keep the part out of direct sun and away from heat sources so its temperature stays steady during the scan.
Shipping a part to us
If the part can travel, shipping it is often simpler than a site visit. Contact us first so we can confirm the address and what you need, then:
- Clean it before packing, so nothing leaks or rubs off in transit.
- Pad the critical surfaces with foam or bubble wrap, and don't put tape directly on them.
- Fill the voids so the part can't shift. Double-box heavy or delicate parts.
- Bag and label small pieces that come off the main part.
- Label everything. Put the part name or number and your contact information both inside and outside the box.
- Include a note on what the scan is for, which surfaces are critical, the deliverable you want and how to ship it back.
- Insure it at its replacement value if it's a one-off or hard to replace.
What we handle on scan day
Once the part is clean, accessible and explained, the rest is on us: target layout, spray, scanning, alignment and processing into the deliverable you asked for. If you're still deciding on scope, our guide to 3D scanning cost shows how prep and deliverables affect the price, and the instant estimate tool gives you a number for your part.